Introduction
A broken laptop screen can be a frustrating issue, especially if you rely on your laptop for work, school, or entertainment. Cracks, flickering, or dead pixels can make your laptop nearly unusable. Fortunately, fixing a broken laptop screen is possible, whether you choose a DIY approach or seek professional help. In this blog, we’ll walk you through the steps for fixing a broken laptop screen, what tools you’ll need, and how Phone Repair & More can assist with reliable and efficient screen repair services.
Table Of Contents
- How Do I Fix My Broken Laptop Screen?
- DIY Steps For Fixing A Broken Laptop Screen
- Phone Repair & More: Professional Laptop Screen Repair Services
- Factors To Consider Before Fixing A Laptop Screen
- Frequently Asked Questions (FAQs)
- Conclusion: Choosing The Right Method To Fix Your Laptop Screen
How Do I Fix My Broken Laptop Screen?
Assess The Damage
The first step in fixing a broken laptop screen is to assess the extent of the damage. Is the screen cracked, showing flickering images, or displaying dead pixels? If the damage is minor, you might be able to continue using your laptop with an external monitor until the screen is repaired. For more severe damage, such as a shattered screen or total display failure, you’ll need to replace the screen to restore full functionality.
Backup Your Data
Before you begin any repair process, it’s essential to back up your data. While fixing the screen shouldn’t affect your internal storage, it’s always best to err on the side of caution and ensure all your files are safe in case something goes wrong during the repair.
You May Also Want To Check: Can You Use A Laptop With A Cracked Screen?
DIY Steps For Fixing A Broken Laptop Screen
Gather The Necessary Tools
To replace a broken laptop screen yourself, you’ll need some basic tools. Most DIY screen repair kits include a small Phillips-head screwdriver, a plastic prying tool, and a suction cup to help remove the screen. You’ll also need a replacement screen that matches the model of your laptop, which can be purchased online or from a computer parts retailer.
Step 1: Power Off And Unplug Your Laptop
Before starting the repair, make sure your laptop is powered off and unplugged. Remove the battery if possible, and discharge any remaining electricity by holding down the power button for several seconds.
Step 2: Remove The Bezel
The bezel is the plastic frame that surrounds the screen. Use a plastic prying tool to carefully remove the bezel by gently working your way around the edges. Be patient and avoid using excessive force to prevent damaging the clips that hold the bezel in place.
Step 3: Disconnect The Broken Screen
Once the bezel is removed, you’ll see screws securing the screen to the frame. Use your screwdriver to remove these screws, then carefully tilt the screen forward to access the cable connecting it to the laptop’s motherboard. Disconnect the cable by gently pulling it away from the screen.
Step 4: Install The New Screen
Take your replacement screen and connect the cable to the new screen. Position the screen in place and re-secure it with the screws. Once the screen is secure, snap the bezel back into place.
Step 5: Test The New Screen
Before reassembling everything completely, power on your laptop to make sure the new screen works properly. If the display is functioning correctly, you can finish reassembling the laptop.
Recommended: Can You Replace Just The Glass On A Laptop Screen?
Phone Repair & More: Professional Laptop Screen Repair Services
Quick And Reliable Screen Repair
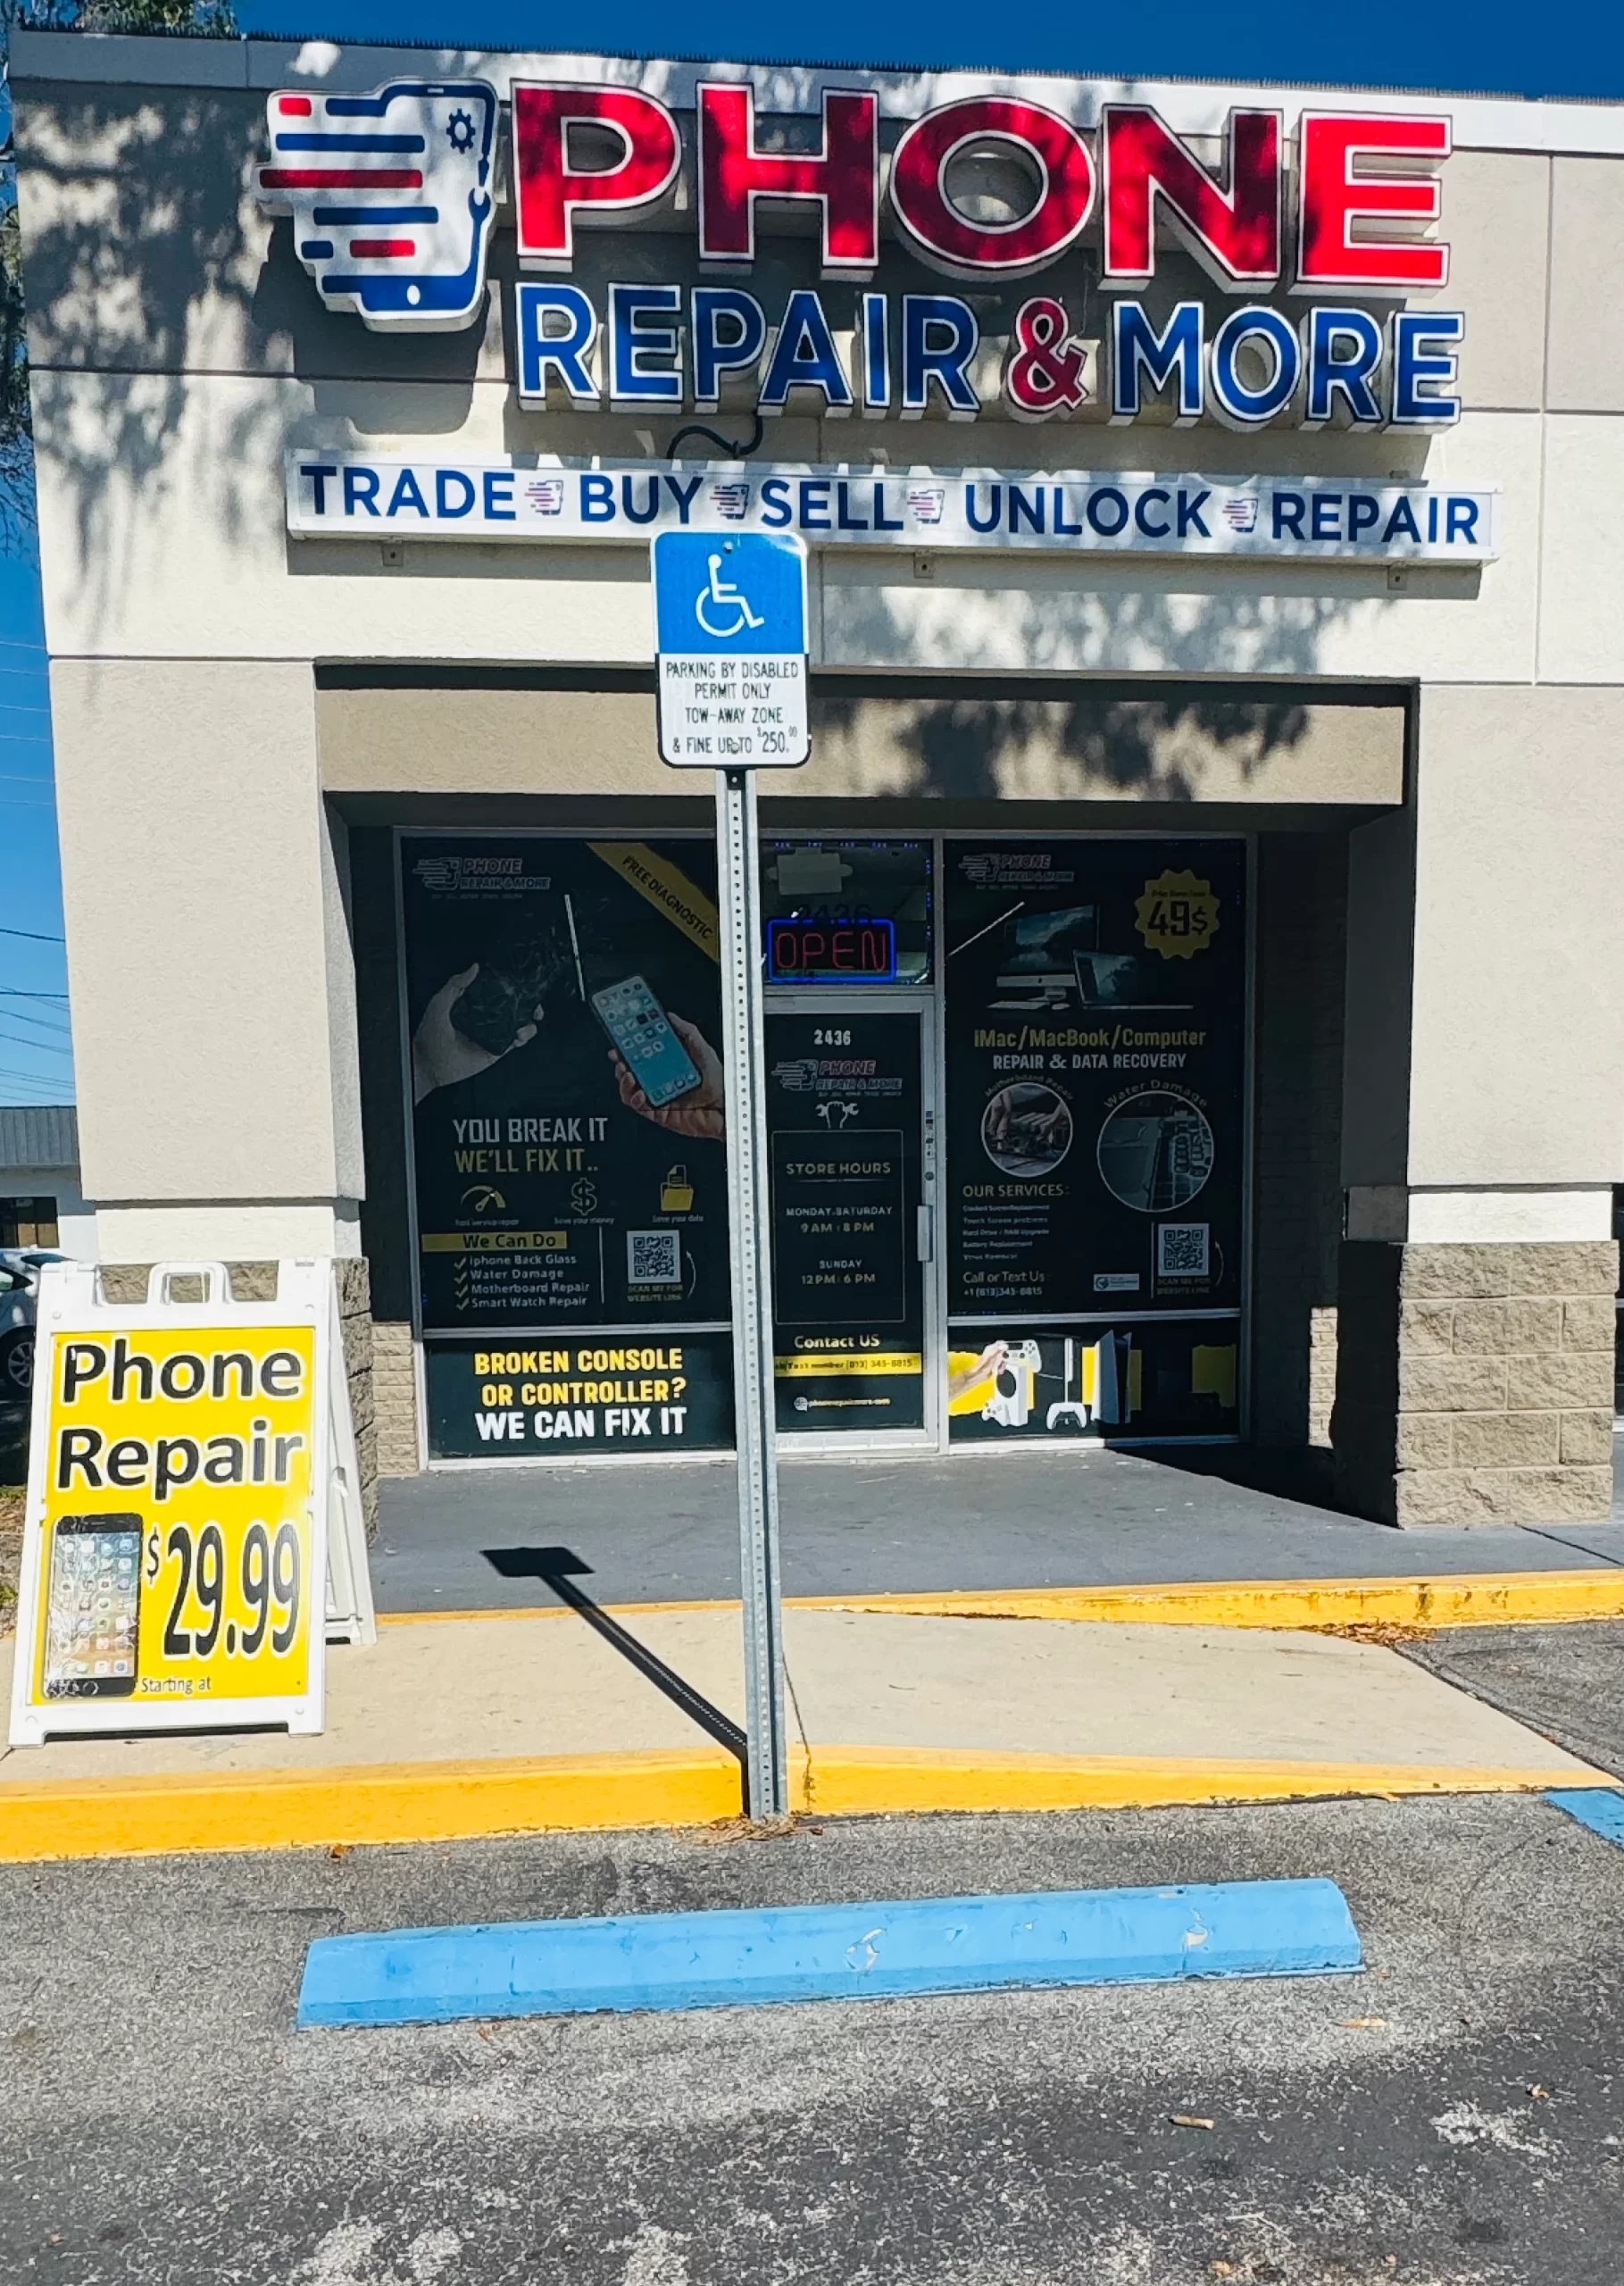
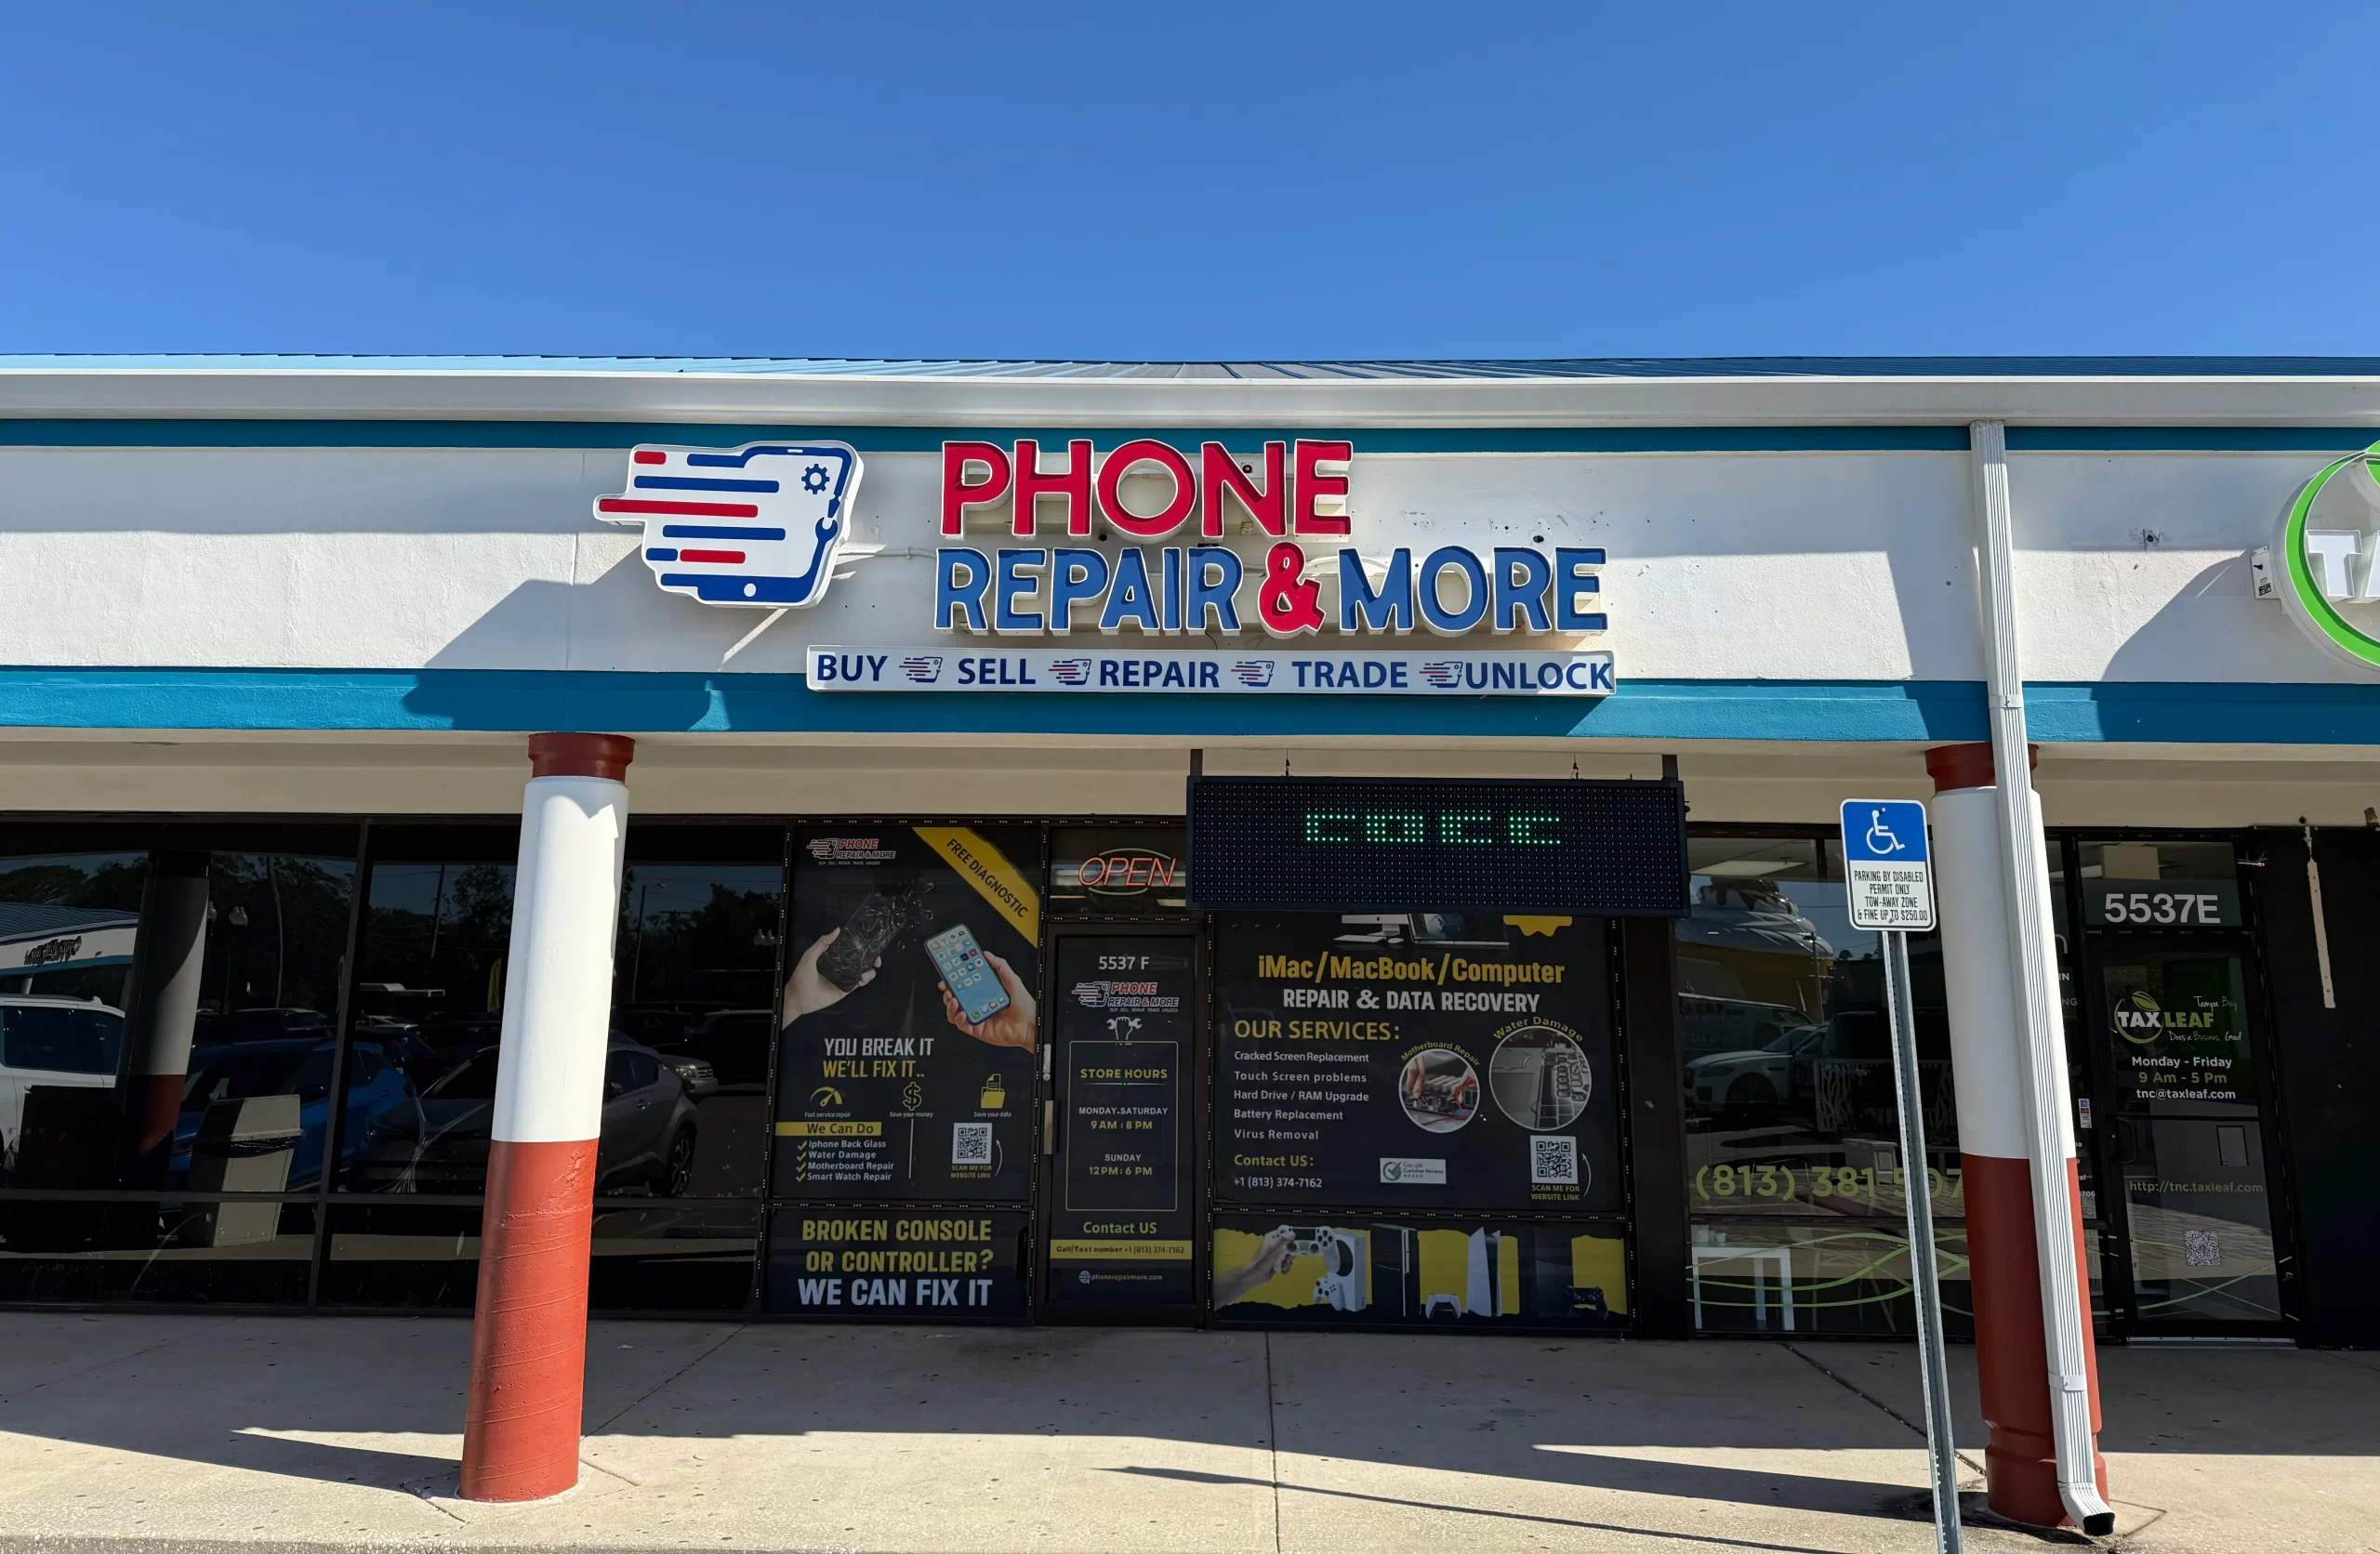
If you’re not comfortable performing a DIY repair, Phone Repair & More offers professional laptop screen repair services. Their experienced technicians can replace your laptop screen with high-quality parts, ensuring that your device is restored to full functionality quickly and safely.
Cost-Effective Solutions
Phone Repair & More provides affordable screen repair options for all laptop models. Whether your laptop screen is cracked, showing dead pixels, or not displaying properly, their team can help diagnose and repair the issue at a competitive price.
Factors To Consider Before Fixing A Laptop Screen
Warranty Coverage
Before attempting a DIY repair, check if your laptop is still under warranty. Many manufacturers offer warranties that cover screen damage, and attempting to repair it yourself may void the warranty. If your laptop is still under warranty, it’s often best to have the screen replaced by an authorized service center.
Cost Of Repair
The cost of replacing a laptop screen varies depending on the model and the extent of the damage. DIY repairs can be cheaper, but if you’re unsure of your ability to complete the repair, professional services like Phone Repair & More can offer peace of mind and ensure the job is done correctly.
Frequently Asked Questions (FAQs)
Can I Replace My Laptop Screen Myself?
Yes, with the right tools and instructions, you can replace a broken laptop screen yourself. However, it requires patience and attention to detail.
How Much Does It Cost To Fix A Laptop Screen?
The cost depends on the laptop model and whether you do it yourself or seek professional help. DIY repairs may cost between $50 to $150, while professional services may range from $100 to $300.
Can Phone Repair & More Fix My Laptop Screen?
Yes, Phone Repair & More offers expert screen repair services for all laptop models. Their technicians can replace your screen quickly and at an affordable price.
Laptop Screen Repair Near Me
Fixing a broken laptop screen is possible through DIY methods or by seeking professional help. While replacing the screen yourself can save money, it requires technical skill and precision. For those who prefer to leave the repair to the experts, Phone Repair & More provides reliable and affordable laptop screen repair services, ensuring your device is back in working order in no time. Evaluate the extent of the damage and your comfort level with repairs to decide the best approach for fixing your laptop screen.


