 Phone Repair
 Laptop Repair
 Smart Watch
 Game Console
 Computer Repair
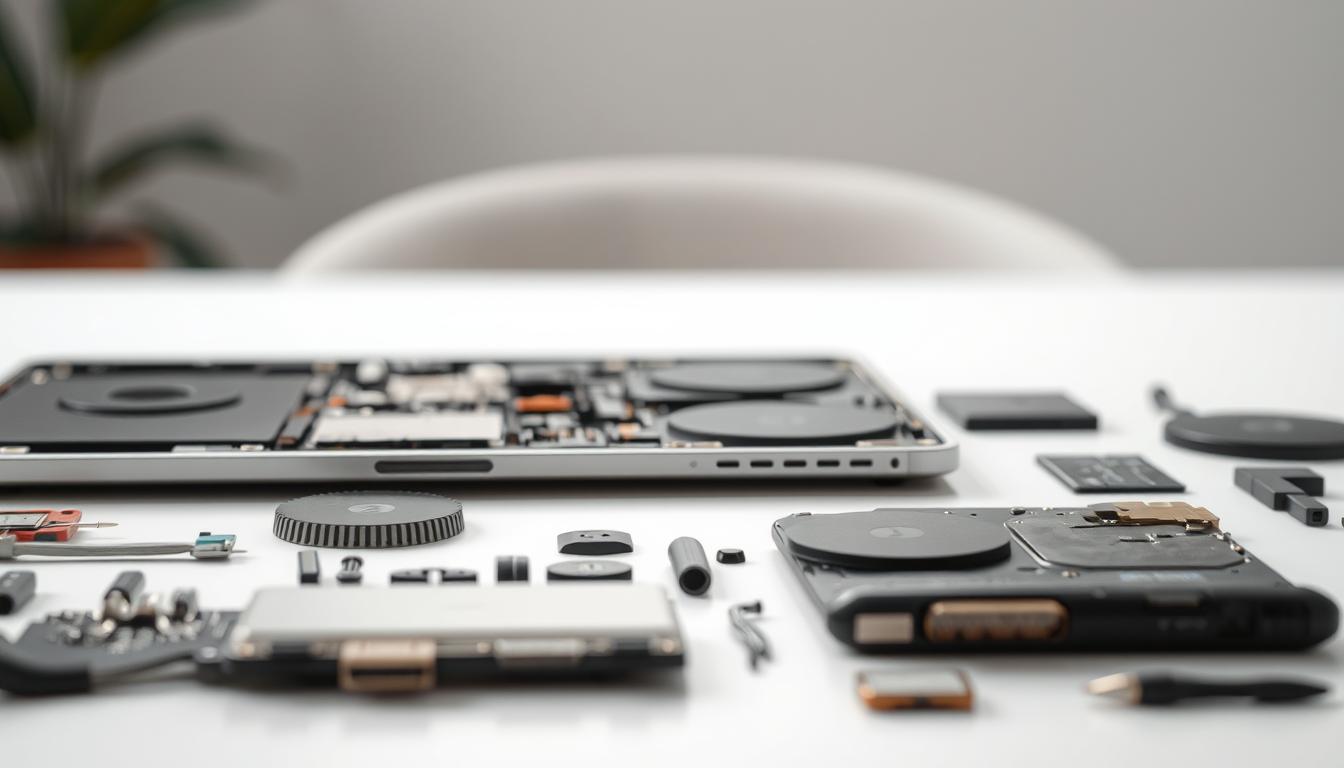
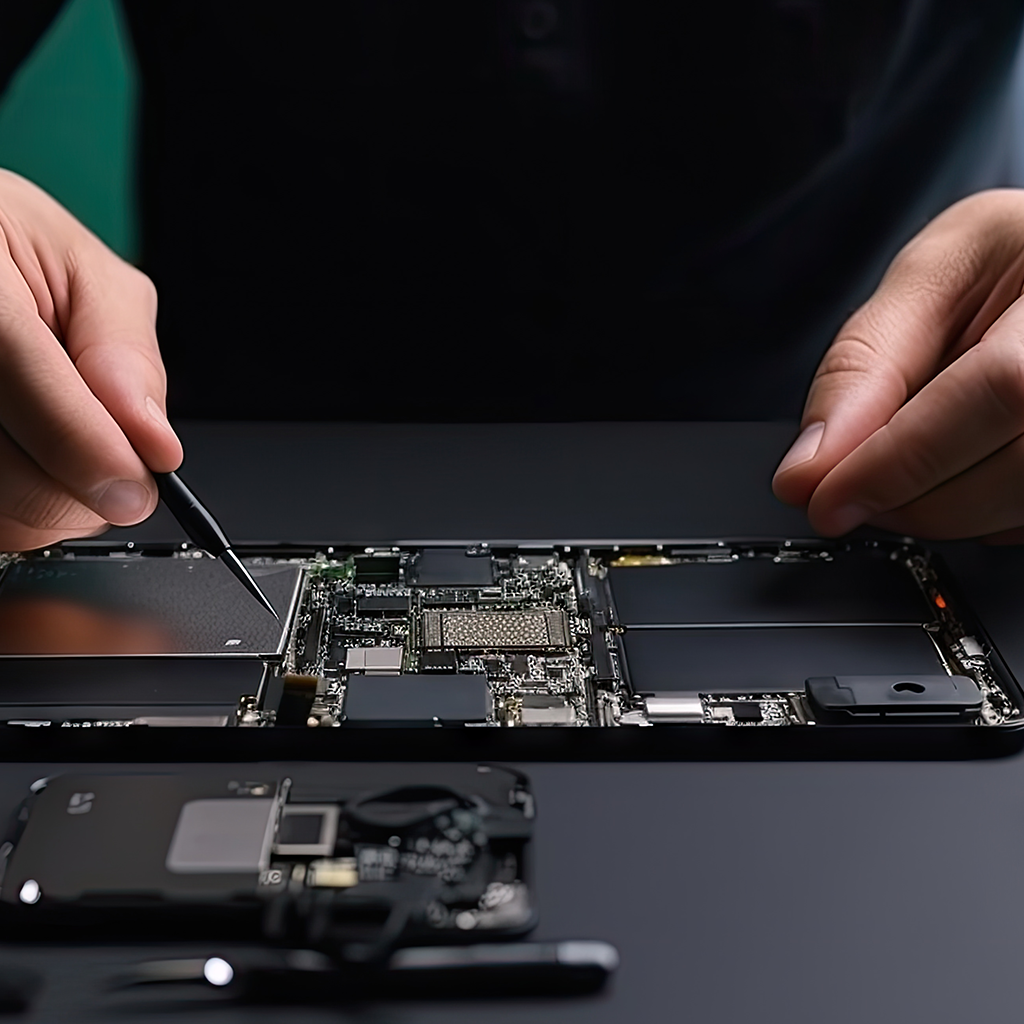
Hardware Problems
One big issue we face is damaged USB ports. These can stop your devices from connecting properly. We also fix cracked screens and keyboards that
Software Glitches
Our experts are great at finding and fixing software problems. We help with slow performance, viruses, and keeping your system running smoothly.
Estimated 1 - 3 days
Charging Troubles
Many users struggle with battery and charging issues. Our team can fix problems like short battery life and charging port issues.

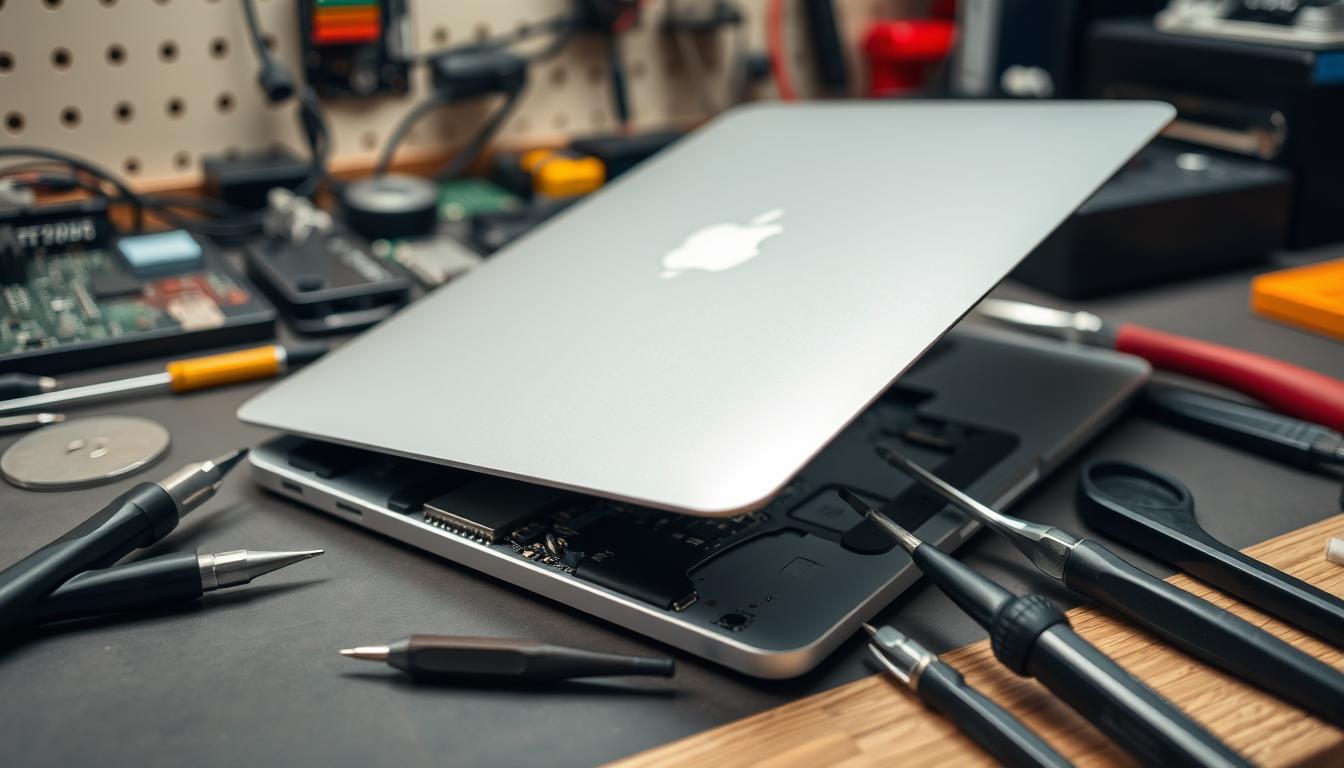
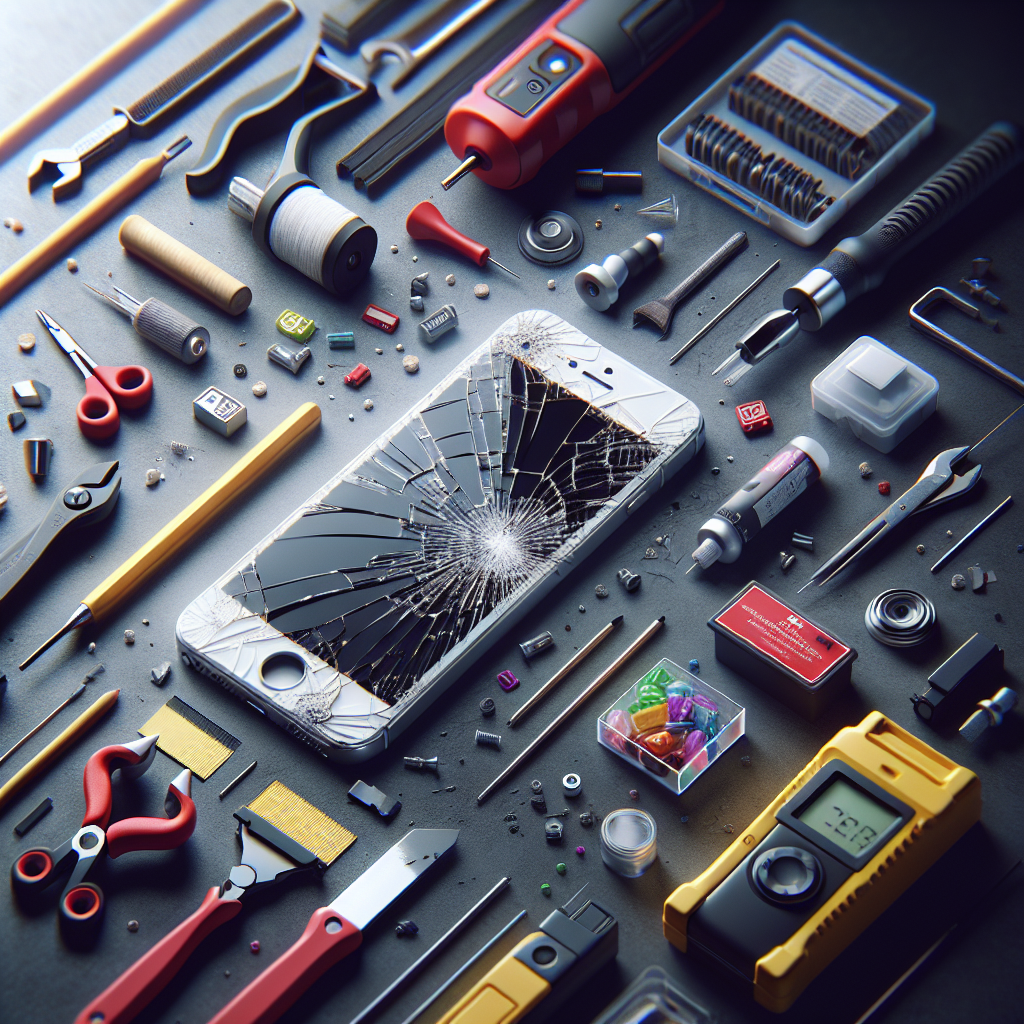
Screen Replacement Solutions
A cracked MacBook Pro screen is a big hassle. But don’t worry, we’ve got you covered. We use top-quality parts to fix your screen, usually in one day. Our service makes your MacBook Pro look and work like new again.
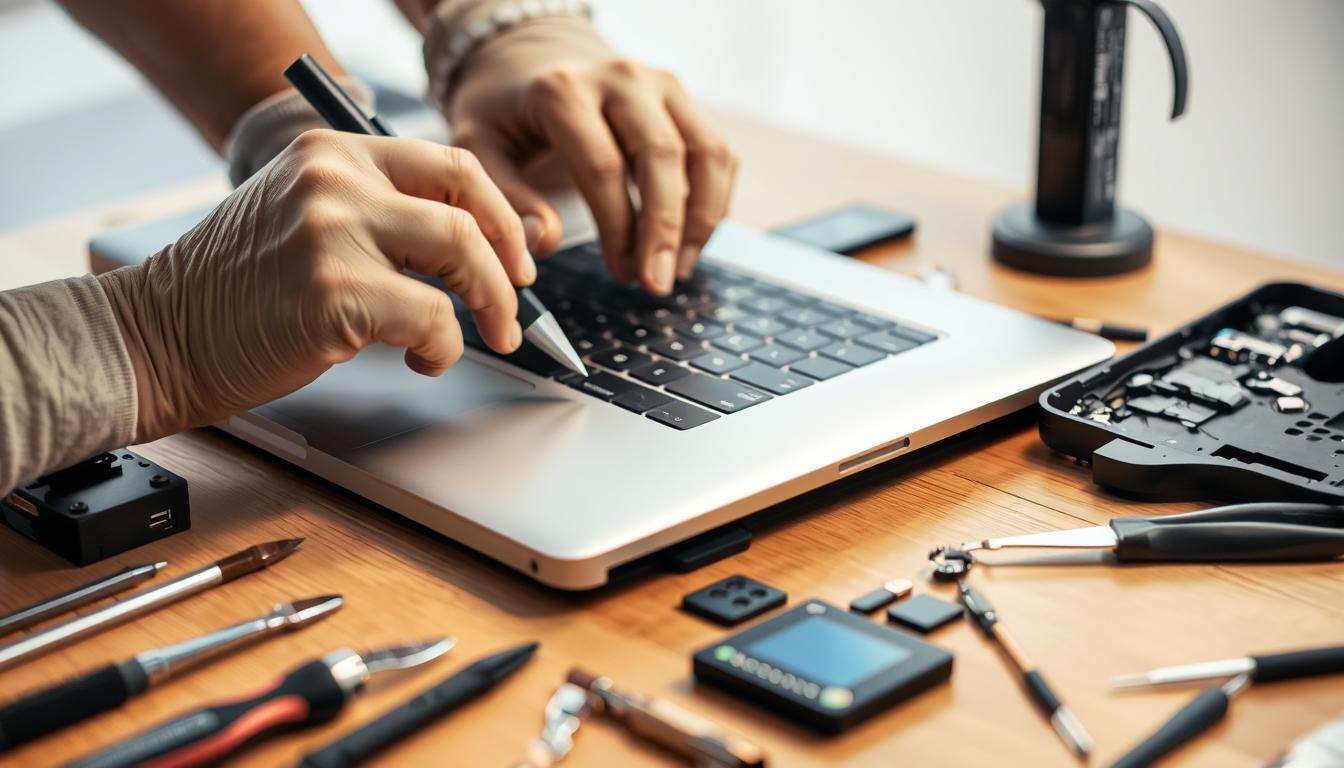
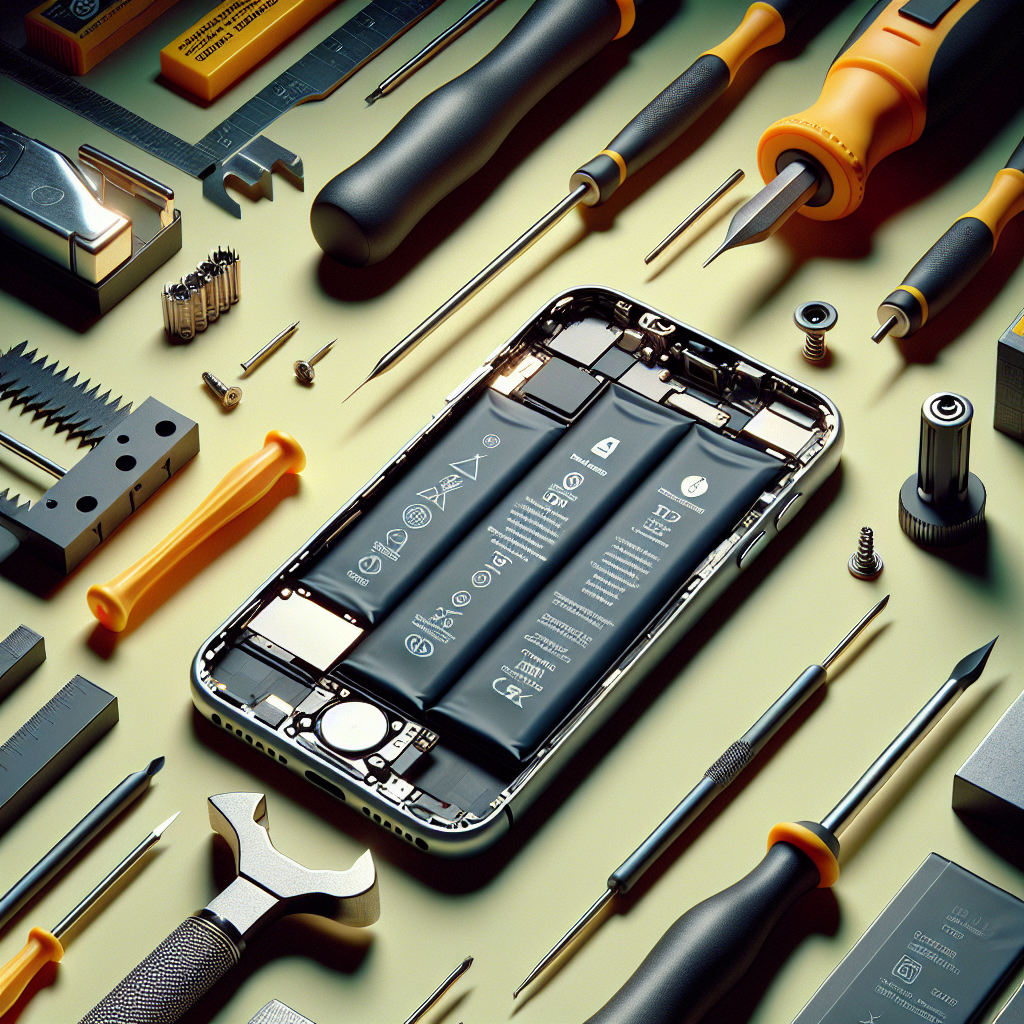
Battery Replacement and Maintenance
MacBook Pro batteries can wear out over time. This can slow down your device. Our experts replace batteries with genuine Apple parts to keep your MacBook running smoothly. We also offer battery care to make your current battery last longer.

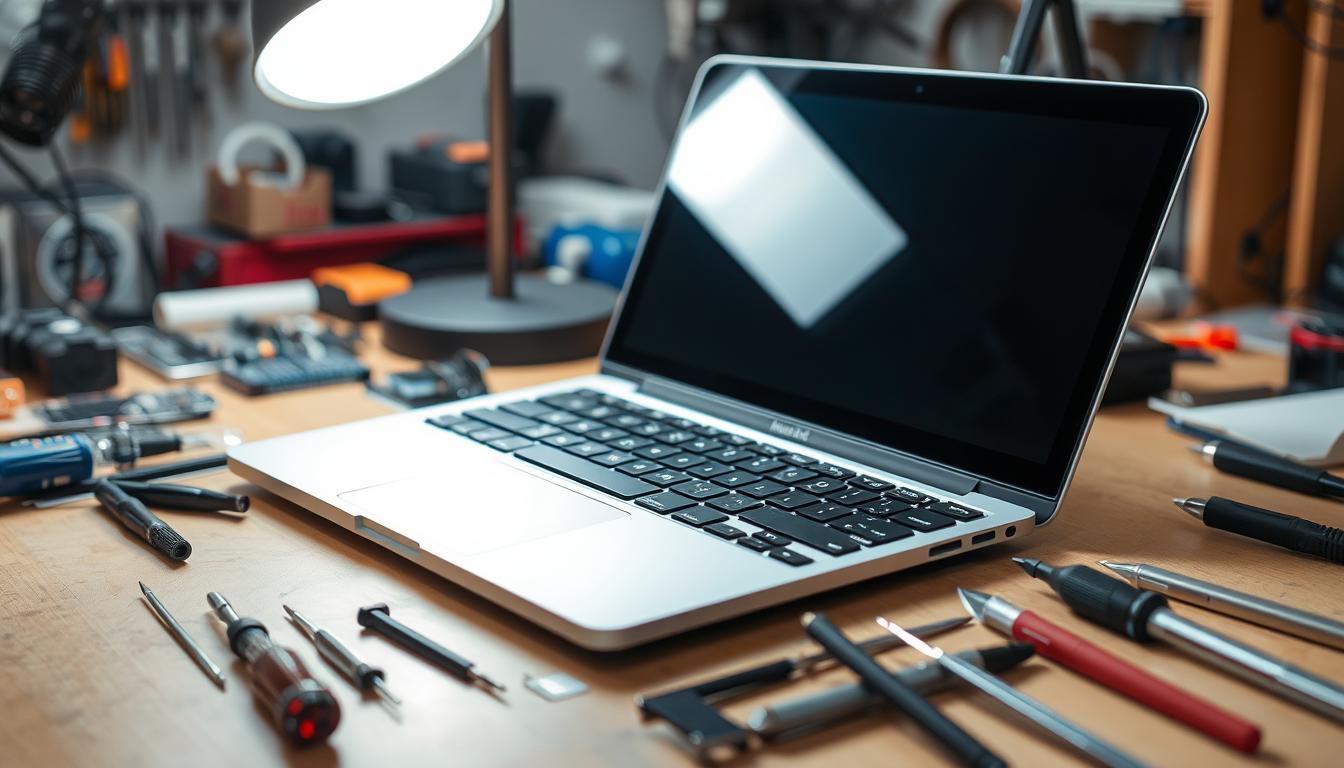
Logic Board Repair and Upgrades
The logic board is crucial for your MacBook Pro’s health. If it’s damaged, you might face many issues. Our team can fix logic board problems, like water damage or component failures. We can also upgrade your logic board for better performance.
Average Cost: $35 – $150+

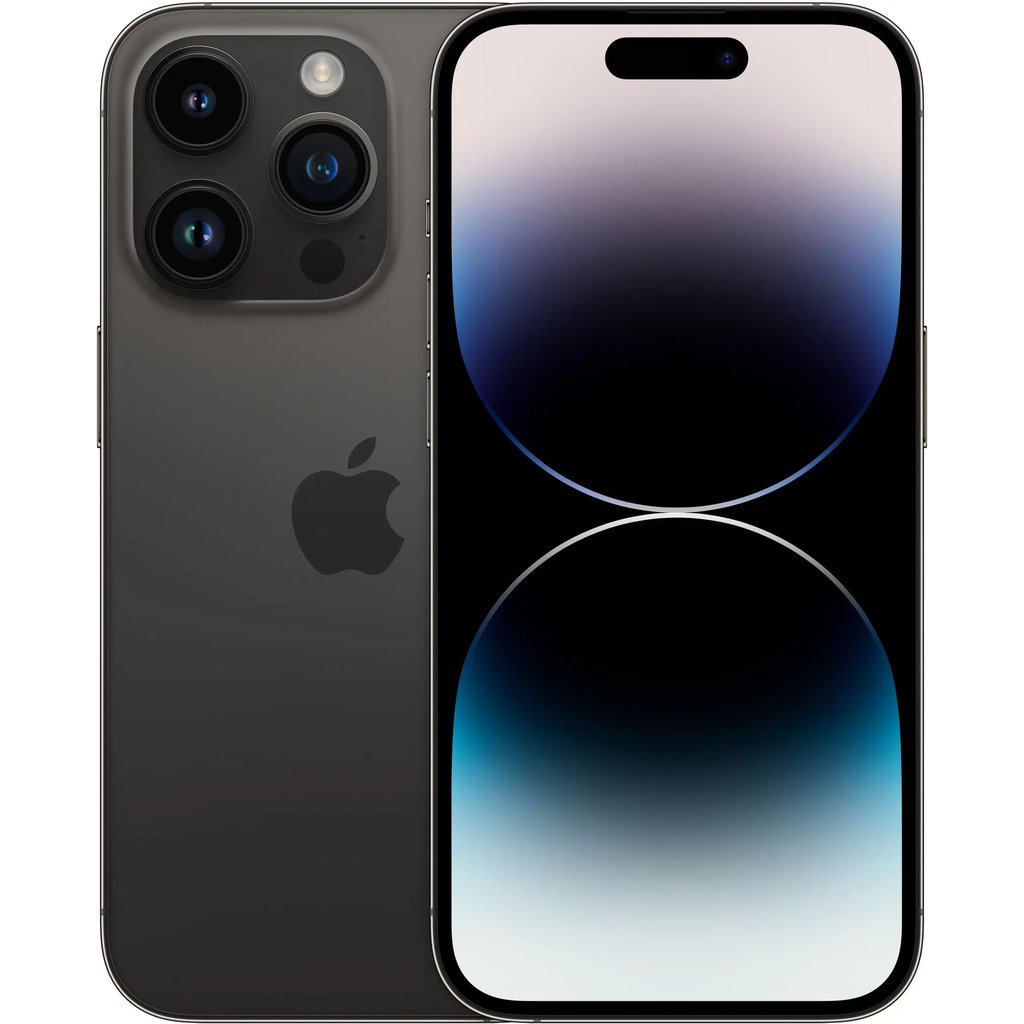
Camera Repair
If your iPhone’s camera isn’t capturing clear images, we repair or replace front and rear cameras to restore picture quality.
Average Cost: $35 – $80+
Iphone Battery Replacement
If your iPhone battery drains quickly, a replacement can extend battery life and improve performance.
Average Cost: $50 – $150+
Face ID Repair
If Face ID isn’t functioning, we diagnose and fix the issue to restore secure access to your device.
Average Cost: $35 – $200+ (varies by model)

Screen Replacement
A cracked screen can make using your iPhone difficult. We replace broken screens to restore usability and aesthetics.
Average Cost: $30 – $90+
Volume Button Repair
A malfunctioning volume button can make adjusting your iPhone’s sound frustrating. We repair faulty buttons to restore full control.
Average Cost: $50 – $140+

Water Damage Repair
Water exposure can cause serious internal damage to your iPhone. Our water damage repair services prevent further problems and restore functionality.
Average Cost: $35 – $70+

Battery Replacement
If your AirPods aren’t holding a charge, we replace batteries to extend playback time and improve performance.
Average Cost: $40 – $90+
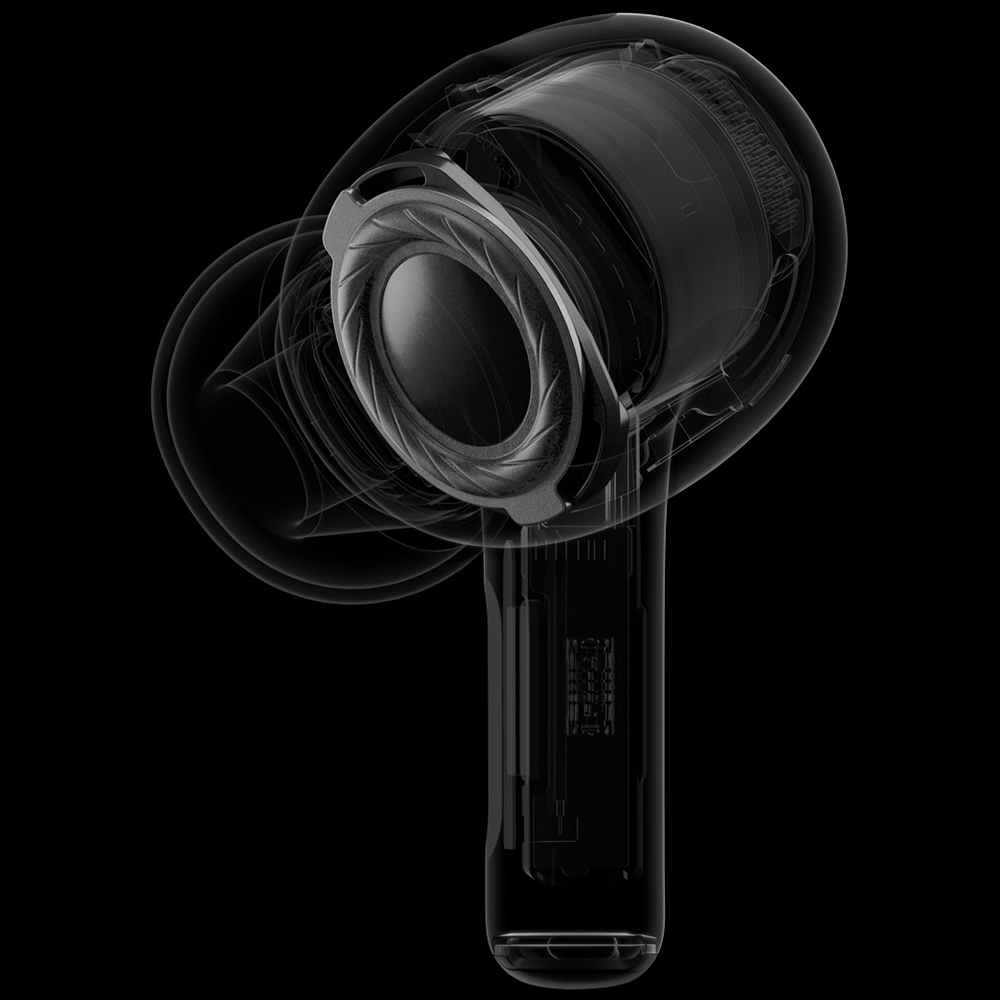
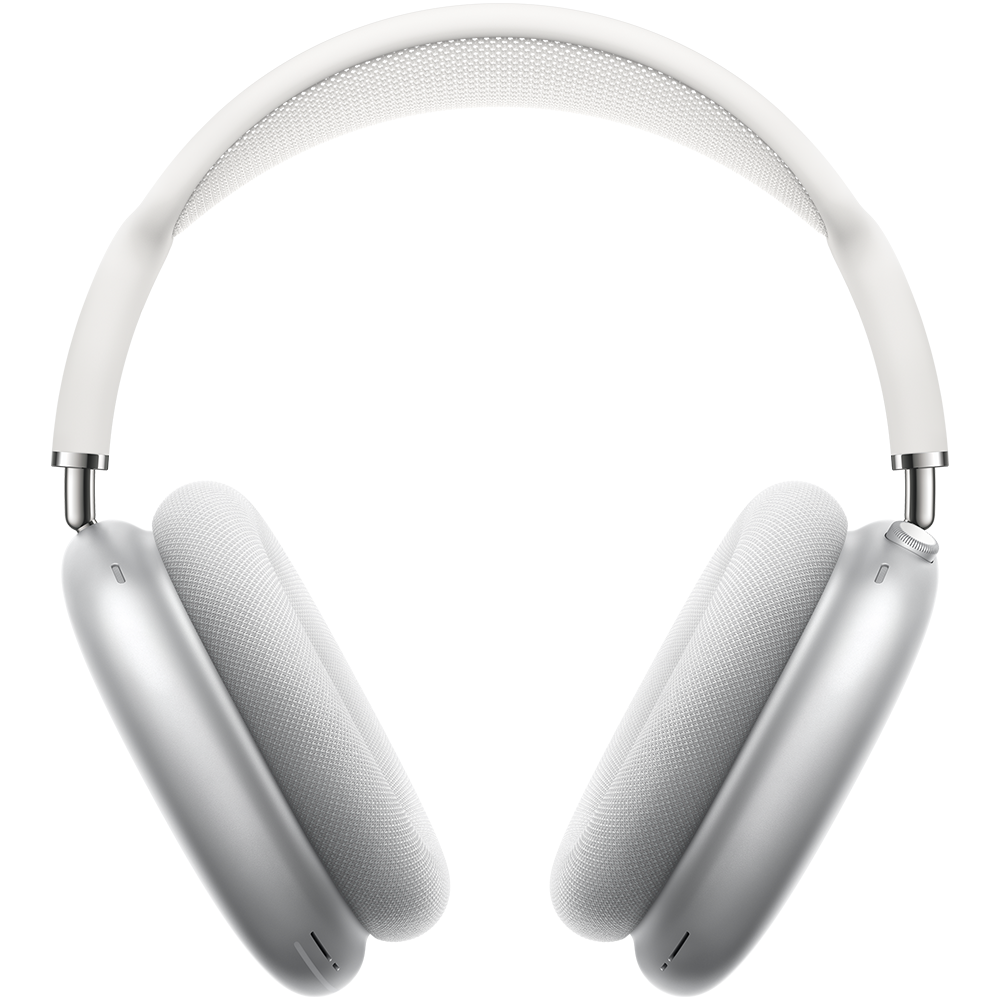
Sound Repair
Distorted or low-quality sound from your AirPods can ruin your listening experience. We fix sound issues to restore clear, high-quality audio.
Average Cost: $40 – $80+
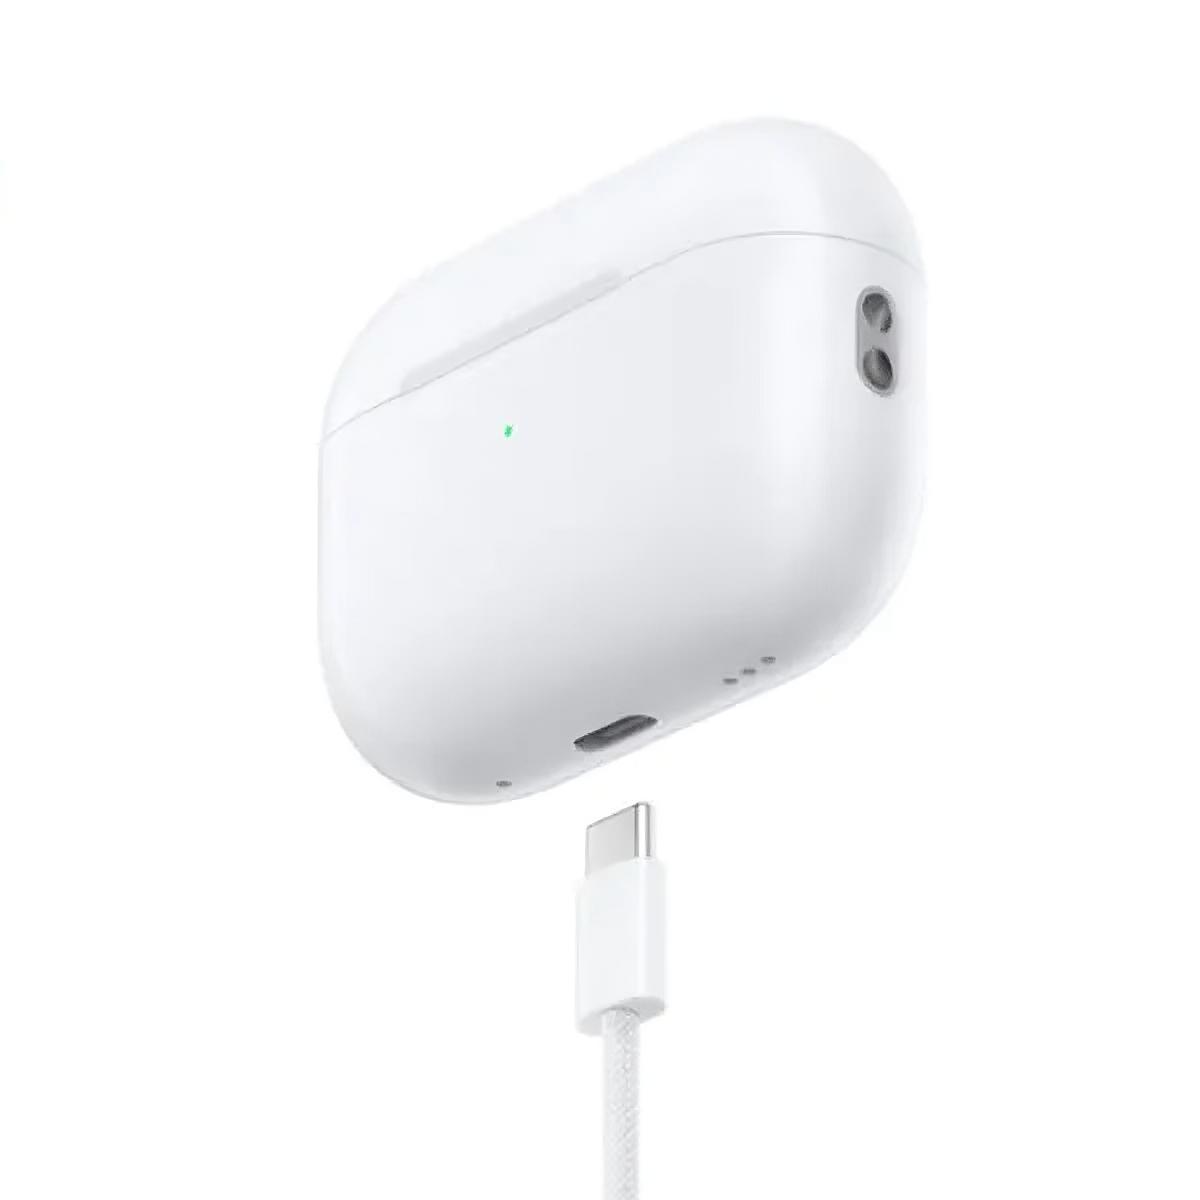
Charging Case Repair
If your AirPods aren’t charging properly, the charging case may be the issue. We repair or replace charging cases to restore efficient charging.
Average Cost: $35 – $60+
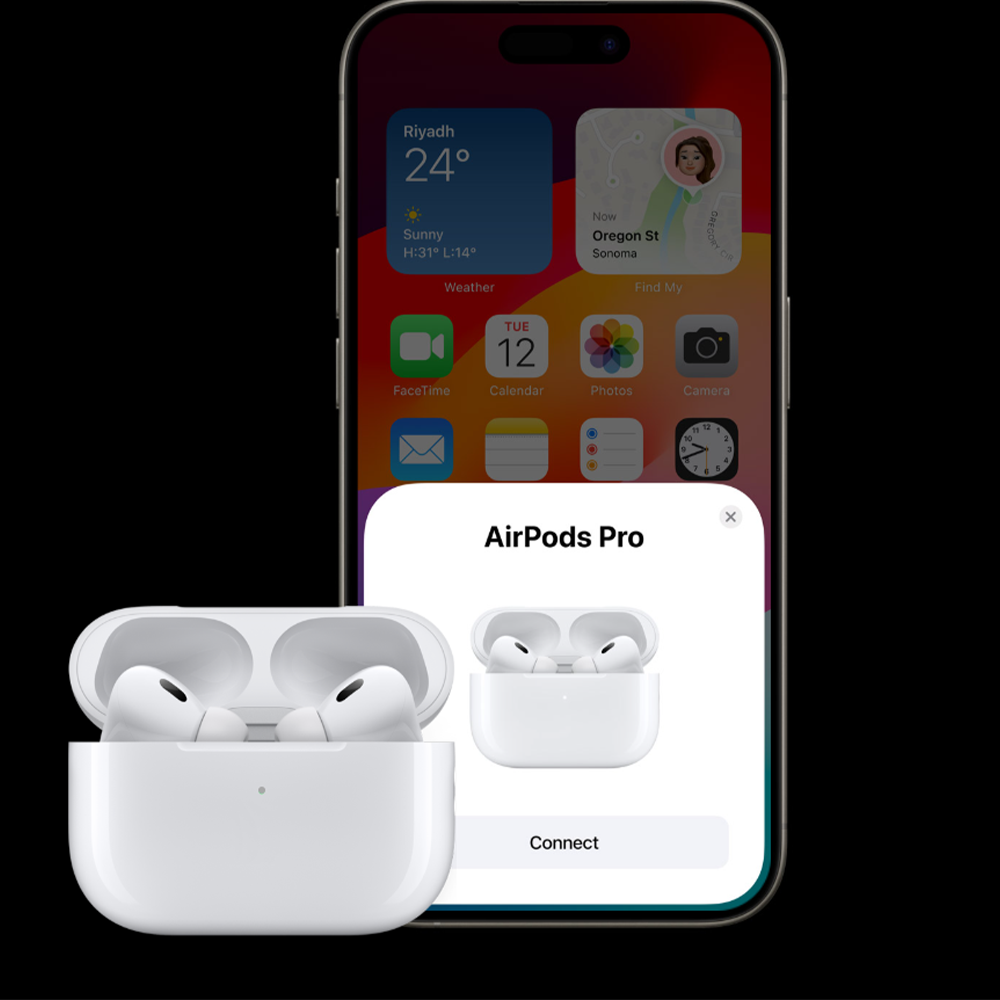
Connectivity Repair
Having trouble connecting your AirPods to your devices? We troubleshoot and repair connectivity issues to restore seamless performance.
Average Cost: $40 – $90+
Physical Damage Repair
Physical damage like cracks or scratches can affect both the appearance and performance of your AirPods. We repair damaged AirPods to bring them back to like-new condition.
Average Cost: $35 – $100+
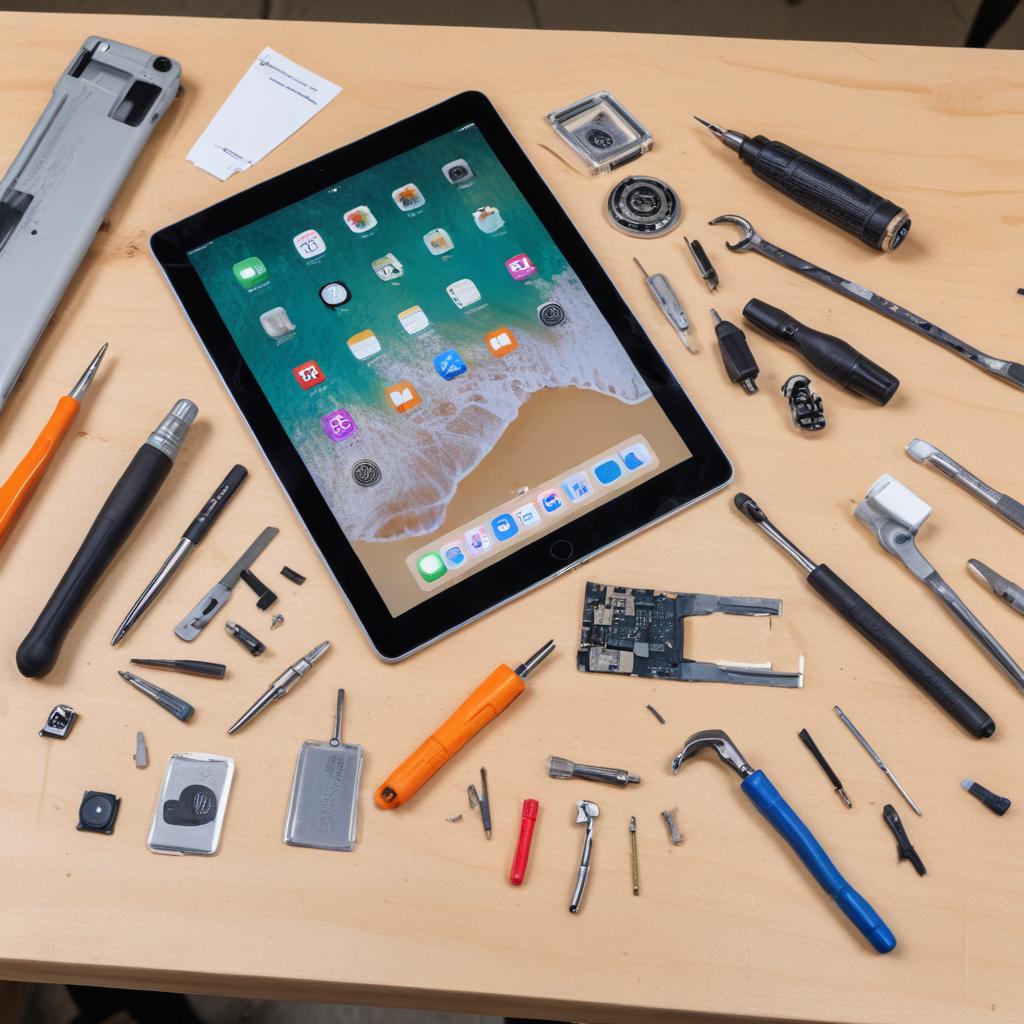
Ipad Battery Replacement
A failing battery can prevent your iPad from lasting through the day. We replace batteries to extend usage times and improve performance.
Average Cost: $40 – $250+
Touchscreen Repair
An unresponsive or malfunctioning touchscreen can make navigating your iPad difficult. We repair touchscreens to restore full functionality and ease of use.
Average Cost: $35 – $100+

Charging Port Repair
A damaged charging port can prevent your iPad from charging efficiently. We provide professional charging port repairs to restore reliable charging capabilities.
Average Cost: $35 – $60+
Connectivity Repair
Having trouble connecting your AirPods to your devices? We troubleshoot and repair connectivity issues to restore seamless performance.
Average Cost: $40 – $90+

Physical Damage Repair
Physical damage like cracks or scratches can affect both the appearance and performance of your AirPods. We repair damaged AirPods to bring them back to like-new condition.