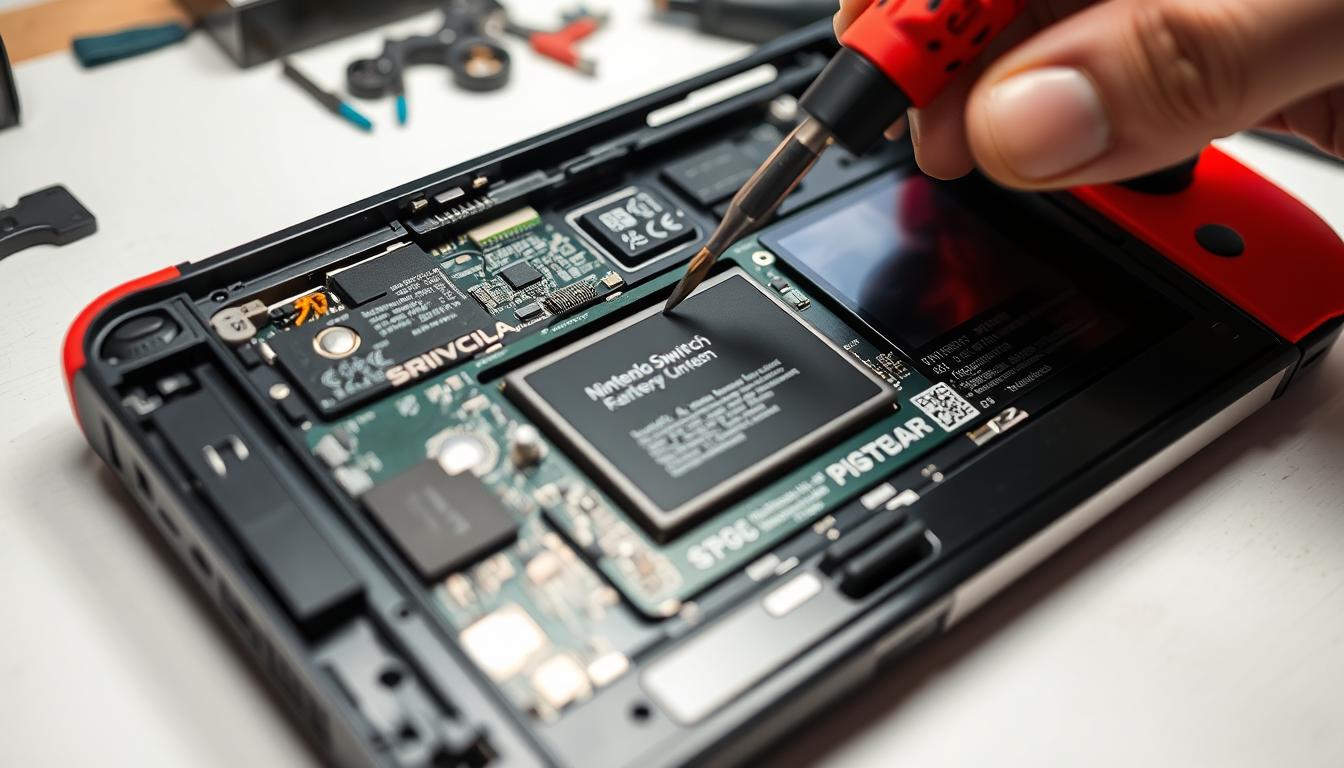
Ever wondered why your Nintendo Switch battery drains fast? It can ruin your gaming fun. In this guide, we’ll show you how to replace your battery. This will make your Switch last longer and perform better.
Knowing how to replace your battery is key. We’ll teach you everything from identifying your model to safely swapping it out. Are you ready to make your gaming better?
Key Takeaways
- Replacement batteries can enhance gaming duration and efficiency.
- Tools required for a DIY battery replacement include screwdrivers and thermal paste.
- Replacing the battery yourself may void your warranty; consult Nintendo first.
- Ensure the battery percentage is below 25% before starting to minimize risks.
- Different models like the Switch Lite and OLED have varying battery life.
- Rechargeable packs can help maintain your battery life throughout the day.
Introduction to Battery Replacement for Nintendo Switch
Keeping your Nintendo Switch battery healthy is key for the best performance. Its battery life usually lasts 4.5 to 9 hours, depending on how much you play. But, after 2 to 3 years, the battery’s power starts to fade.
Knowing when and how to replace your Switch’s battery can save you a lot of hassle. Issues like overcharging, extreme temperatures, or cheap parts can shorten its life. Learning how to replace Nintendo Switch battery properly is crucial for its long-term use.
If you’re thinking about doing it yourself, be careful. Opening your Switch will void its warranty, and the battery is hard to get out. Nintendo doesn’t sell new batteries, so you might have to look at third-party sellers like iFixit for tools and guides.
If you’re up for the challenge, knowing the risks and having the right tools is important. A DIY job might be perfect for tech experts. But, others might want to get help from professionals instead.
Identifying Your Nintendo Switch Model
Knowing your Nintendo Switch model is key to finding the right battery replacement. Each model has its own features and specs that affect battery replacement. The original Switch, Switch Lite, and Switch OLED are different, so it’s important to know which one you have.
Original Switch vs. Switch Lite vs. Switch OLED
The original Nintendo Switch has a model code HAC-001 on its back. The Switch Lite is smaller with built-in controllers, perfect for portable gaming. The Switch OLED has a better display and sound, identified by its model number and packaging.
The new Switch model comes in a bright red box, unlike the older grey one. It lasts up to 9 hours, while the original lasts 6.5 hours. The Switch Lite lasts 3 to 7 hours. Knowing these differences helps in choosing the right battery.
Understanding Model Numbers
Model numbers help tell the Nintendo Switch versions apart. The latest model starts with HAD, while older ones start with HAC. The new Switch’s serial number starts with XKW. Online stores like Amazon list serial numbers to help verify the model.
The battery replacement process changes with each model. This shows why knowing your Switch model is so important. Here’s a table comparing the main differences between the three versions:
| Model | Model Code | Battery Life | Features |
|---|---|---|---|
| Original Switch | HAC-001 | 2.5 – 6.5 hours | Detachable Joy-Con controllers |
| Switch Lite | HDH-001 | 3 – 7 hours | Compact with non-detachable controllers |
| Switch OLED | HEG-001 | 4.5 – 9 hours | Enhanced screen and audio |
For more detailed help on finding your model and replacing the battery, check out this detailed resource.
Preparing for the Battery Replacement
Replacing the battery in your Nintendo Switch needs careful planning. First, make sure your console is turned off and the battery is low, below 25%. This reduces the chance of fire during the replacement.
Safety Precautions
When getting ready to replace the battery, safety comes first. Be gentle with the device and avoid damaging the battery. Wear safety goggles to protect your eyes from debris. Work in a place with good air flow to avoid harmful fumes.
Tools and Supplies Needed
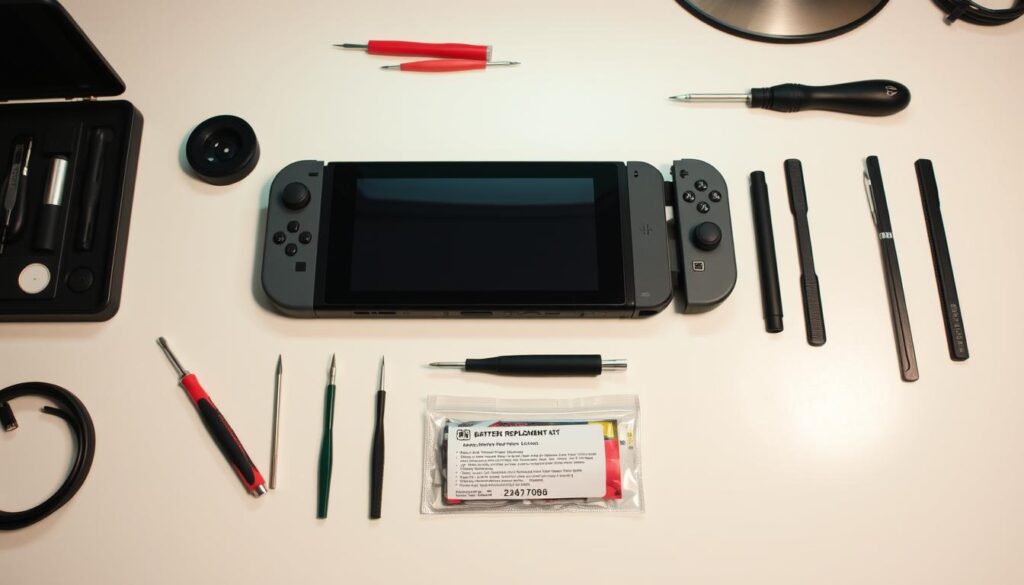
Having the right tools is key for a successful battery swap. Make sure you have:
- Y00 Tri-wing screwdriver
- Phillips #00 screwdriver
- Spudger or plastic pry tool
- Replacement battery
- Adhesive remover, like isopropyl alcohol
- Microfiber cloth
- Magnetic project mat for screws
Workspace Preparation
Set up a clean and organized workspace for the swap. Pick a surface that’s free from static and distractions. Cover the area with a soft cloth to prevent damage. Having all your tools ready helps you stay focused and efficient.
Step-by-Step Nintendo Switch Battery Replacement
Replacing the battery in your Nintendo Switch might seem hard, but it’s doable with a clear guide. This guide will help you replace the battery quickly and easily. Follow these steps to do it right.
Powering Down and Removing Joy-Con Controllers
First, turn off your Nintendo Switch completely. This is important for safety. Then, take off the Joy-Con controllers by pressing a small button and sliding them off.
Accessing the Back Cover
Use a Y00 screwdriver to take off the screws holding the back cover. Note the different lengths of screws. Store them in separate places to keep them straight during reassembly.
Disconnecting the Old Battery
After removing the back cover, find the battery connector. Use tweezers or a spudger to disconnect it. Be careful not to damage anything nearby.
Removing the Old Battery
Next, remove the old battery from its adhesive with a spudger. Don’t reuse the old battery for safety reasons. Clean the area well for the new battery.
Installing the New Battery
Put the new battery in the right spot and connect the battery connector. Make sure it fits well and wires aren’t pinched.
Reassembling the Console
Start putting the console back together by reversing the steps. Put the back cover on and replace all screws. After, calibrate the new battery for best performance. Check your game settings, as battery life changes with brightness.
| Brightness Level | Battery Life |
|---|---|
| High | 3 hours |
| Medium | 4.5 hours |
| Low | 6 hours |
Nintendo Switch Battery Replacement Techniques
Replacing the battery in your Nintendo Switch needs special techniques. Knowing which tools to use and how to handle the adhesive is key. This ensures safe battery handling and a successful replacement. Here are the essential methods to do the job right.
Using Proper Tools for the Job
The right tools are crucial for replacing the battery. A repair kit or a small Phillips screwdriver and a Y screwdriver can help. A strong pry tool, like a guitar pick or the dull side of a butter knife, is also needed. It helps remove the back cover safely without harming any parts. An anti-static parts organizer mat keeps small parts organized during the process.
- New Battery
- Repair Kit / Small Phillips Screwdriver and Y Screwdriver
- Strong Pry Tool (guitar pick or dull feature of a knife)
- Anti-Static Parts Organizer Mat
Handling Adhesive Safely
When replacing the battery, you’ll face adhesive holding the battery in place. The right way to remove adhesive is important to avoid damaging internal parts. Here are some tips for safe battery handling:
- Use heat to soften the adhesive before removing it, making it easier to pull away.
- Gently pry the battery away from its position, applying consistent pressure without excessive force.
- Avoid puncturing the battery during removal, as this may pose serious safety hazards.
Following these techniques for Nintendo Switch battery replacement makes the process easier. It also ensures the safety of both the user and the device. If your Switch needs more frequent charging or shuts down often, it might need a new battery.
| Repair Difficulty | Estimated Time | Tools Required |
|---|---|---|
| Moderate | 60-90 minutes | New Battery, Repair Kit, Pry Tool, Anti-Static Mat |
Where to Buy a Replacement Battery
Finding the right place to buy a replacement battery for your Nintendo Switch is key. You have many options, from online stores to local electronics shops. Make sure to check if the battery is compatible and read reviews to find an affordable option.
Online Retailers
Online sites like Amazon and Best Buy have a big selection of Nintendo Switch batteries. Shopping online is easy and often cheaper. For example, a Nintendo Switch battery is available for $39.99.
This battery model (HAC-003) has 16 Wh capacity, 3.7 V voltage, and 4310 mAh. It’s a good choice for a replacement.
- 63 reviews with an average rating of 4.7
- 30-day returns policy
- Same-day shipping if ordered by 1 PM Pacific
- 20% discounts on various items related to the replacement battery
Local Electronics Stores
If you like to shop in person, local electronics stores are a good option. They usually have the right batteries and staff who can help. Always check if they have the correct model for your device.
Whether online or in a store, make sure you find the right Nintendo Switch battery. Compare prices and read reviews to get the best deal.
Professional Nintendo Switch Battery Replacement Services
Thinking about getting a professional to replace your Nintendo Switch battery? It’s important to know your own tech skills first. DIY fixes can go wrong, especially if you’re not sure about working with electronics. Getting a pro to do it ensures it’s done right, keeping your console working well and your warranty intact.
When to Seek Professional Help
There are times when you really need a tech expert:
- If you don’t have the right tools for a safe swap.
- When your warranty is still good, and DIY could mess it up.
- If you’ve tried to replace the battery before and it didn’t work.
- If your Switch has other problems that need fixing right away.
Comparing Costs and Services
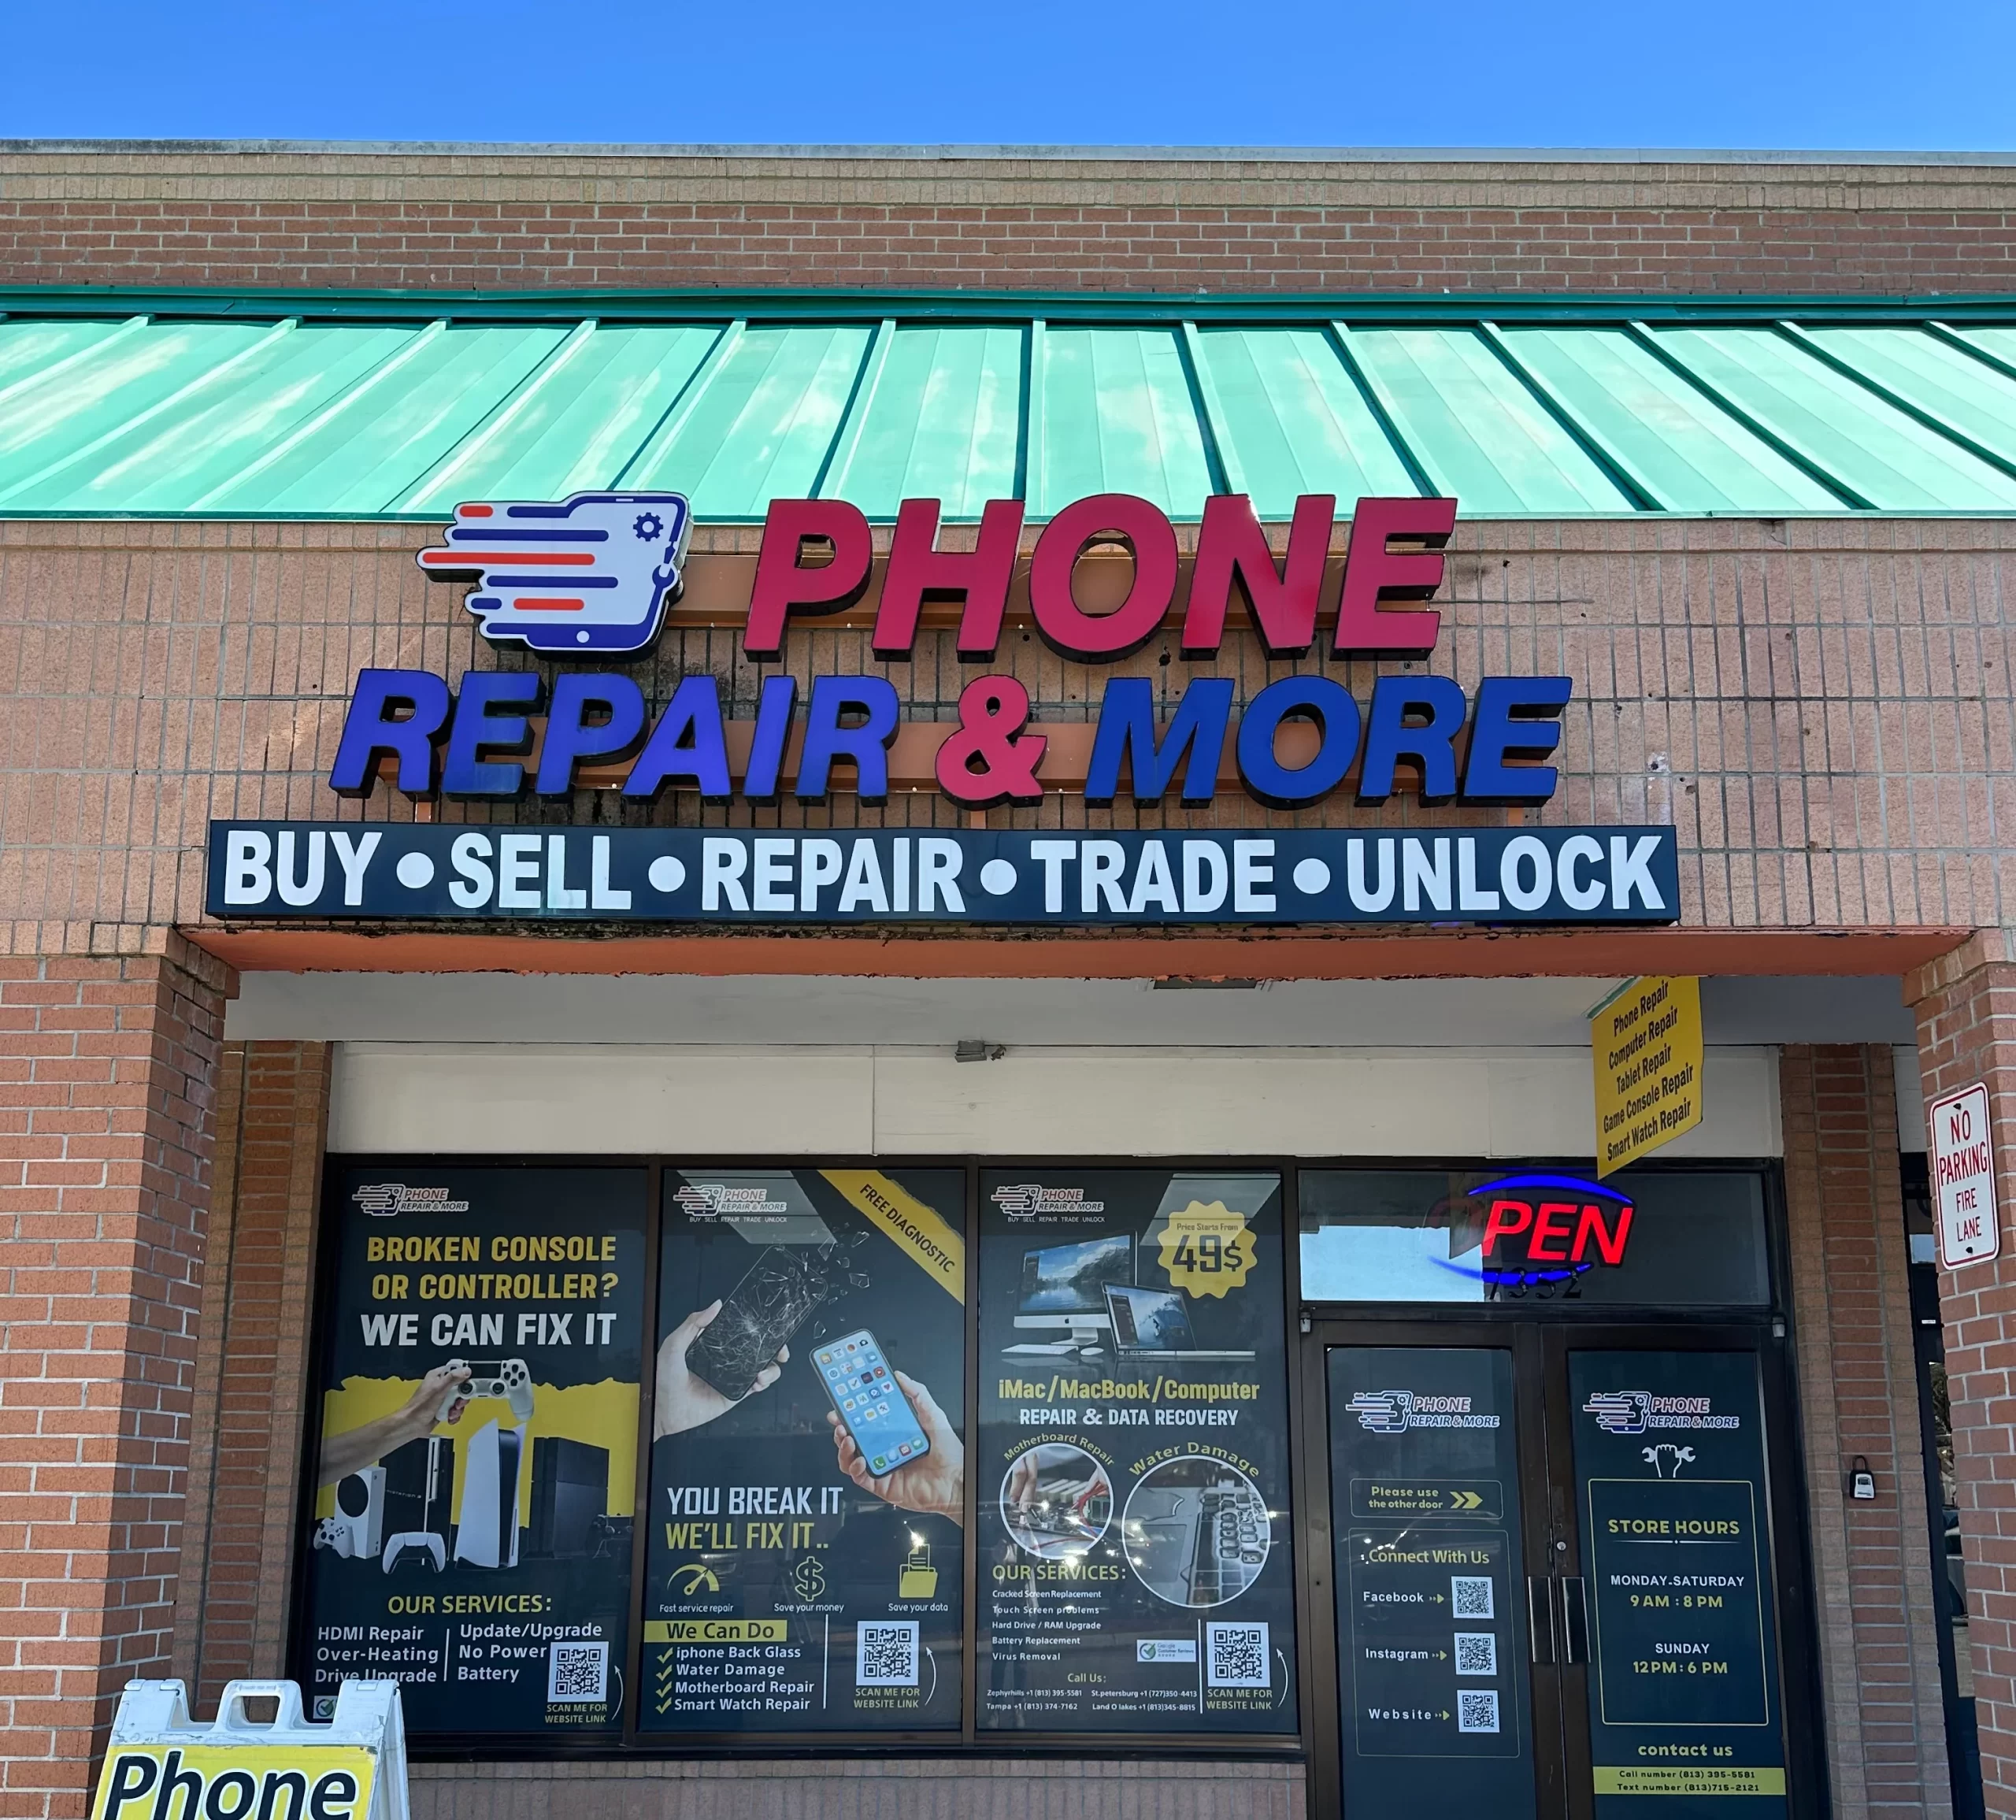
When looking at battery replacement costs, think about more than just the price. Companies like Phone Repair & More offer great deals and a warranty on most fixes. They also fix things fast, often the same day.
Here’s a quick look at some top repair services:
| Repair Service | Warranty | Repair Time | Additional Information |
|---|---|---|---|
| Phone Repair & More in Tampa | 1-year limited warranty | Same day | Many locations |
| Phone Repair & More In Palm Harbor | 90-day warranty | Varies | No restocking fees, free diagnostics |
Maintenance Tips for Your Nintendo Switch Battery
Keeping your Nintendo Switch battery in good shape is key. By following some simple tips, you can make your battery last longer and work better. These tips will help you get the most out of your battery and keep it running smoothly.
Extending Battery Life
To keep your battery healthy, try these strategies:
- Avoid Deep Discharges: Don’t let your battery run all the way down before charging. Charge it when it hits about 20%.
- Lower Screen Brightness: Setting your screen brightness to 50% indoors can save battery life.
- Disable Auto-Brightness: This stops your battery from draining when light changes.
- Use Airplane Mode: Turn on Airplane Mode when you’re not online to save battery.
- Turn Off Bluetooth: Disable Bluetooth when you’re not using controllers to save power.
- Adjust Game Performance Settings: Lowering graphics settings in games like The Witcher 3 and DOOM Eternal can add an hour of playtime.
- Keep Software Updated: Update your Switch regularly to improve battery life.
- Use Licensed Accessories: Use accessories made for the Switch for better performance.
- Occasional Restart: Restarting your console can fix temporary issues and make it run better.
Calibrating Your New Battery
Calibration is important after you replace your battery:
- Charge your Switch to 100% and keep it plugged in for another hour.
- Unplug and use the Switch until it runs out of power.
- Let it sit off for a few hours before charging it to full again.
This calibration helps your battery gauge its true capacity and work better. Always throw away old batteries safely at certified e-waste recyclers.
By following these tips, you can make your battery last longer and keep gaming without interruptions. Good charging habits and regular calibration will keep your battery ready for many gaming sessions.
Nintendo Switch Battery Replacement: Common Concerns
Many users have concerns about Nintendo Switch battery replacement. They worry about safety and how it affects the console’s performance. Knowing these details can ease worries and make gaming better.
One big concern is if replacing the battery will harm the warranty. Usually, doing it yourself can void any warranties. It’s smart to check with the maker or seller about warranty rules.
Users also wonder if the console will work as well after a battery swap. A new battery should make the console run like new again. Just remember to charge it right and keep the software up to date.
Signs a Nintendo Switch Lite battery needs replacing include fast draining, not holding a charge, or swelling. These signs mean the battery is old. For more info, look at the battery replacement FAQs.
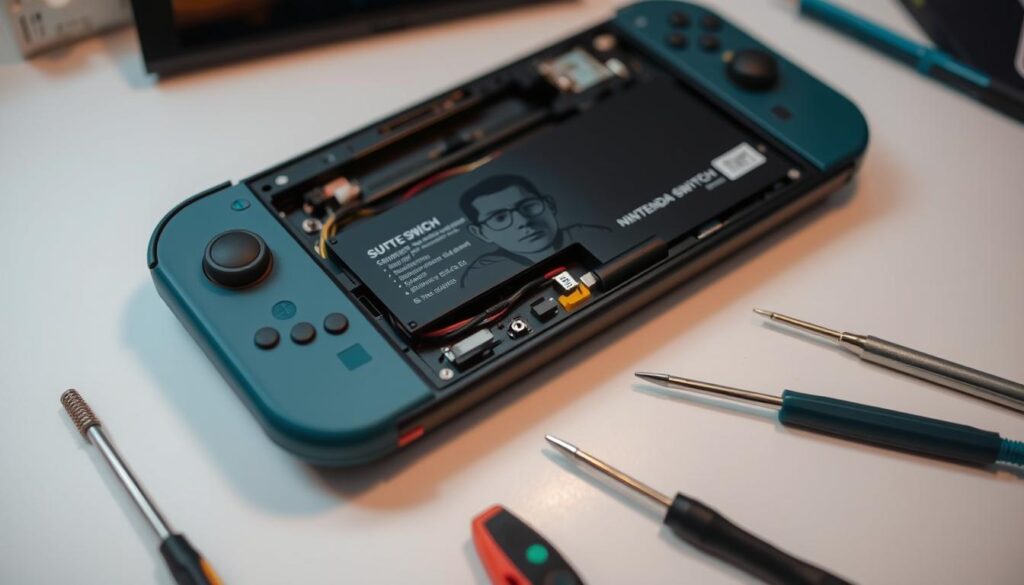
People often ask how long it takes to replace the battery. It usually takes 60 to 90 minutes. With the right tools and clear steps, you can do it yourself and keep gaming.
Keeping the battery healthy is key. Charge it between 20% and 80% and avoid overcharging. Doing this helps the battery last longer and improves your gaming.
Conclusion
In this guide, we’ve covered the basics of replacing a Nintendo Switch battery. This knowledge helps you decide if you should do it yourself or get help from a pro. A new battery makes your gaming better and keeps your Switch alive longer.
Remember, your Switch’s battery life drops after about 800 charge cycles. So, if your Switch isn’t performing well, it’s time to replace the battery.
We talked about different Switch models, battery life, safety, and tools needed. Knowing this helps you feel ready to replace the battery yourself. If you’d rather have someone else do it, looking into costs and services is key.
When you start replacing your Switch’s battery, safety is top priority. Follow all guidelines carefully. With the right care, your Switch can keep you entertained for years to come.

