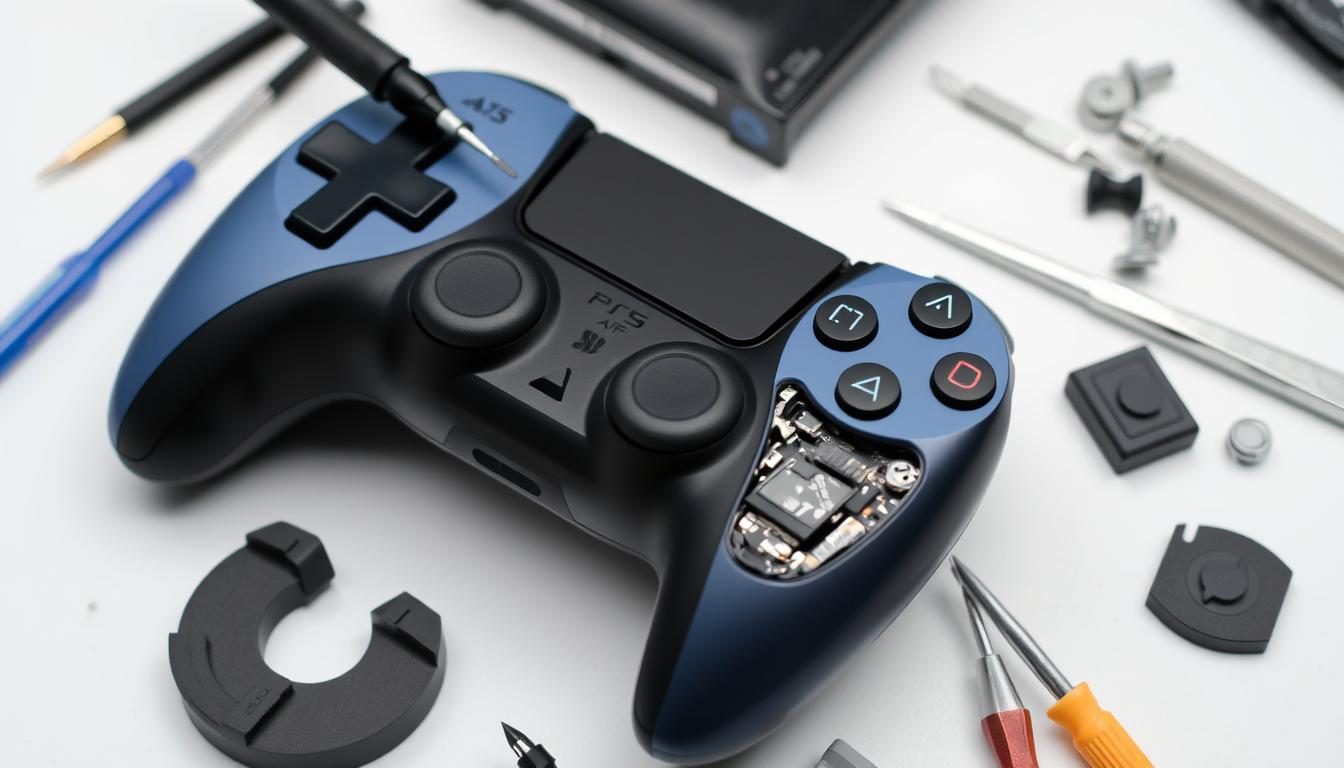
Every gamer has faced the frustration of a malfunctioning PS5 controller. Issues like joystick drift, unresponsive buttons, and battery problems can be tough to fix. But, you don’t have to give up. This guide will help you learn how to troubleshoot and repair your controller.
We’ll show you tools, tips, and tricks to fix your PS5 controller. You’ll learn about the DualSense controller’s parts and safe repair methods. This guide will prepare you to keep and repair your PS5 joysticks.
Ready to breathe new life into your controller? Let’s get started!
Key Takeaways
- Familiarize yourself with the parts of the PS5 DualSense controller for effective troubleshooting.
- Ensure you have the right tools and safety precautions before starting any repair work.
- Common issues can often be resolved by performing simple maintenance or adjustments.
- Professional repair services are available for serious or unresolvable problems.
- Regular cleaning and upkeep can extend the lifespan of your PS5 controller.
Understanding Your PS5 Controller
The PS5 DualSense Controller is a cutting-edge gaming tool. It has new designs and parts that make gaming better. Knowing the parts of your controller helps you fix it quickly.
Parts of the PS5 DualSense Controller
This controller has important parts like buttons, joysticks, and adaptive triggers. Each part has its own role in the game. Knowing these parts helps you fix your controller fast.
Many users face issues like joysticks moving on their own. This is because of how the controller is made. Replacing joystick modules is a common fix for this problem.
Common Issues with PS5 Controllers
Many users run into problems with their PS5 controllers. Dirty buttons are a big issue, affecting 15% of users. Battery problems also cause trouble, impacting about 10% of controllers.
Fixing these issues quickly keeps your gaming sessions uninterrupted. Repairing trigger buttons is another common fix, making up 20% of repairs. For more help, check out this source.
Before You Start the Repair
Getting ready for a PS5 controller repair means having the right tools and following safety steps. Knowing what tools you need can make the repair go smoothly. It’s also important to keep safe while working on electronics. Here, we’ll talk about the tools you’ll need and how to stay safe.
Tools You Will Need
- Screwdriver set (Phillips and Tri-wing)
- Cotton swabs or Q-tips
- Isopropyl alcohol or electronic contact cleaner
- Replacement parts as needed
Safety Precautions
Before you start taking apart your PS5 controller, make sure you follow safety rules. Always unplug the controller to avoid shocks or short circuits. Work in a bright area to see better and not lose small parts. Don’t touch the inside with your bare hands to avoid oil or dirt damage.
These steps will help you fix your PS5 gamepad safely and effectively.
Troubleshooting the Problem
Fixing your PS5 controller starts with checking its functions. A detailed test can spot problems early. Make sure your system software is current, as outdated settings can cause issues. Also, check how well each button works, the joystick, and special features like the microphone.
Testing Controller Functions
Here’s how to make sure your PS5 controller works right:
- Ensure the controller is paired with your PS5. Issues might come from other devices, Bluetooth, or USB-C problems.
- Look for dirt or damage in the USB ports that could affect charging or connection.
- Press all buttons and move the joysticks to see if they’re working.
- Update the controller’s software for the latest features and fixes.
- Reset the controller by holding the Reset button on the back for 5 seconds.
If problems keep happening, you might need professional help or repair. Cleaning the analog sticks can fix stick drift. Always follow these steps carefully to find and fix the problem.
| Functionality | Potential Issue | Action to Fix |
|---|---|---|
| Charging | Controller does not charge | Check USB ports, try different cables, and ensure the system is powered on. |
| Pairing | Controller won’t pair with PS5 | Unsync from other devices, check for Bluetooth interference, update firmware. |
| Button Responsiveness | Sticky or unresponsive buttons | Clean controller components and verify controller settings. |
| Analog Stick Drift | Controller stick drift issue | Clean the analog stick and consider adjusting dead zones in settings. |
Fixing Common Controller Problems
Many gamers face frustrating problems with their PS5 controllers. These issues can ruin the fun and shorten the life of the controller. Here are some common problems players often deal with.
Drifting Joysticks
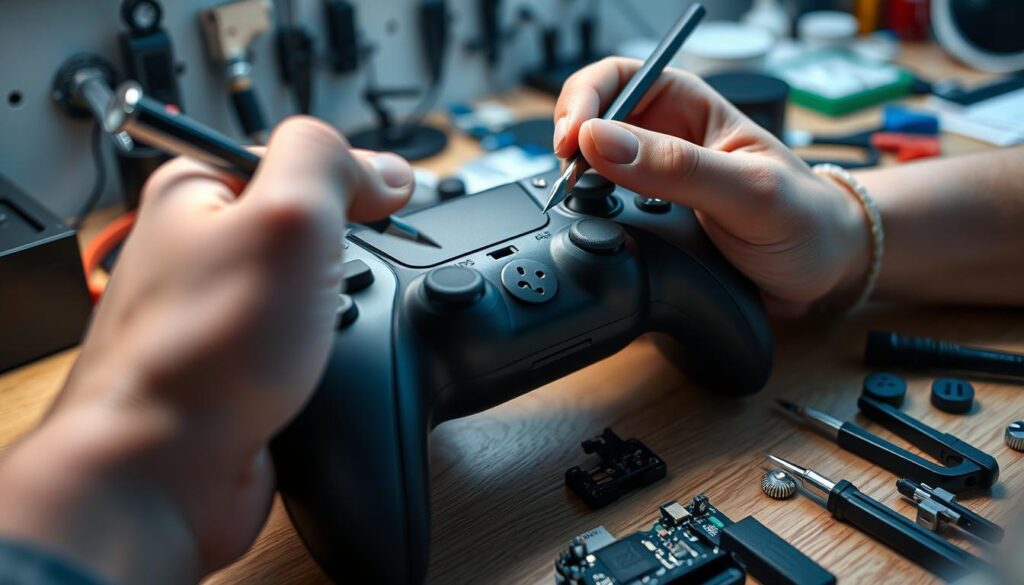
Drifting joysticks cause games to move on their own, which is really annoying. This problem can come from physical damage, too much use, dirt, or old software. To fix PS5 joystick drift, try these steps:
- Clean around the analog stick base with compressed air to remove dirt.
- Adjust the input threshold settings in the game or console settings.
- Reset the controller by pressing the reset button on the back.
- Make sure the software is up to date to avoid problems.
Unresponsive Buttons
Buttons that don’t work right can really mess up your game. Dust and dirt are usually the cause. To fix it, clean around the buttons with compressed air or a cotton swab with rubbing alcohol. Keeping your controller clean helps avoid more PS5 controller repair issues.
Battery Issues
Battery problems in PS5 controllers show up as frequent disconnects or not charging. First, check if the battery is charged. If it still doesn’t work, you might need a new battery. Keeping the controller charged and clean helps a lot. For help, check out this webpage for repair services.
| Problem | Possible Causes | Suggested Fixes |
|---|---|---|
| Drifting Joysticks | Wear and tear, debris, outdated software | Clean the base, reset controller, update software |
| Unresponsive Buttons | Debris build-up, dirt | Clean with compressed air or alcohol |
| Battery Issues | Poor charge, malfunction | Check charge levels, replace the battery |
PS5 Controller Repair
Fixing a PS5 controller involves several steps to solve problems like stick drift and battery issues. It’s important to get the controller working right again for a great gaming experience.
Services include stick drift repair, face button/trigger input repair, and USB-C port repairs. Each fix costs £40.99 GBP. This service checks the controller thoroughly and cleans it to kill 99.9% of bacteria.
Controllers use Hall effect stick modules. These modules can have a circularity rate between 4.00% and 18% per stick. Remember, the magnet speaker is removed to fix some issues.
If your controller is still under warranty, Sony covers it for a year after you buy it. Before getting it fixed, try some basic troubleshooting steps.
Disassembling Your PS5 Controller
To take apart a PS5 controller, be careful not to harm important parts. You’ll need to open the controller case and learn about its internal parts.
Opening the Controller Case
First, get your tools ready. You’ll need precision screwdrivers and a pry tool. Start by removing the four screws that hold the case together.
Two screws are at the bottom corners, and the others are behind the L1 and R1 buttons. Then, remove two screws on each side. Be gentle to keep everything inside safe.
Identifying the Controller Parts Inside
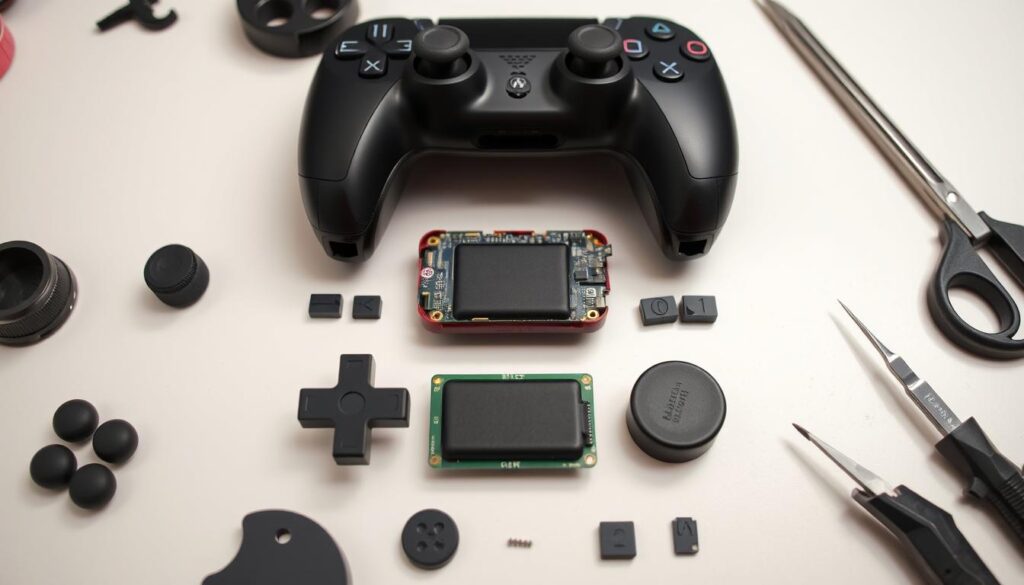
After opening the controller, you’ll see several parts. Look at the circuit board, joysticks, and buttons. Each part is key to how the controller works.
Dust can build up, so clean these parts with compressed air. Knowing where everything is helps when you’re fixing or replacing parts.
| Component | Function | Replacement Availability |
|---|---|---|
| Circuit Board | Controls all operations | Available online through specialty sites |
| Joysticks | Provides directional control | Can be replaced if experiencing drift |
| Buttons | Enables game interactions | Individual buttons can be sourced |
| Battery Pack | Powers the controller | Replacement recommended if charge holds poorly |
Repairing or Replacing Controller Parts
Fixing your PS5 controller is key to getting it working right again. Issues like joystick or trigger button problems are common. Learning how to fix these can save you from needing a pro.
How to Replace Joystick Modules
To replace PS5 joystick parts, you need to follow some steps. First, get the right parts for your controller. Then, remove two screws from the bottom of the controller.
Next, find and remove two more screws behind the L1 and R1 buttons. Carefully lift the controller casing. Inside, you’ll see the joystick modules connected to the motherboard.
Use a desoldering pump to remove fourteen connections for each joystick. After removing the old module, put the new one in place. Make sure it’s connected well to the motherboard.
Fixing Trigger Buttons
Fixing triggering button repair is simpler. Start by taking apart the controller. Look at the trigger buttons for damage or dirt. If cleaning doesn’t work, you might need to replace them.
Once you’ve fixed the joystick and buttons, put the controller back together. Make sure everything works before you’re done.
If you run into problems, local repair shops can help. For more help, check out this resource.
| Repair Service | Cost (£ GBP) | Details |
|---|---|---|
| Standard Controller Repair | 40.99 | Fix joystick drift, face button input repair, USB C port repair |
| Rubber Thumbstick Replacement | Included | Replaces worn thumbsticks for improved control |
| Hall Effect Stick Installation | Dependent on Model | For standard and third-party pro controllers |
| TMR Electromagnetic Sticks Installation | Dependent on Model | Advanced enhancements for precision |
With the right tools and info, fixing your PS5 controller can be a rewarding DIY project.
Reassembling Your PS5 Controller
Reassembling a PS5 controller is key after you take it apart. It’s important to align all parts correctly. This ensures everything works right. Start by putting all parts back into the casing carefully.
Putting the Parts Back Together
First, check for dust on the inside parts. Dust can cause problems, so clean with compressed air before putting it back together. Then, place the parts inside the controller shell correctly. Make sure all wires and ribbon cables are securely connected.
This careful work helps you put the PS5 controller back together without trouble.
Ensuring Everything Works
Once the outer shell is on, test the controller. Press buttons and move the joysticks to see if they work. If something doesn’t work, check the connections again. A good fit is key for everything to work right.
By following these steps, you can keep your controller working well after you fix it.
| Step | Description | Importance |
|---|---|---|
| 1 | Inspect internal components for dust. | Maintains responsiveness. |
| 2 | Align all parts carefully into the casing. | Ensures proper connections. |
| 3 | Secure outer shell and screws. | Prevents internal damage. |
| 4 | Perform a functionality test. | Confirms successful repairs. |
Maintenance Tips for Your PS5 Controller
Keeping your PS5 controller in good shape is key. It helps avoid problems like sticky buttons and connection issues. Here are some tips to keep your PS5 gamepad working well.
Regular Cleaning Tips
Cleaning your PS5 controller is a must. Use isopropyl alcohol and cotton swabs for a deep clean. Focus on the buttons and analog sticks. Here’s how to clean effectively:
- Wipe the outside with a microfiber cloth every week to get rid of dust.
- Use cotton swabs with rubbing alcohol once a month to clean tight spots.
- When cleaning buttons, use gentle pressure to avoid making them sticky.
- Don’t forget to clean the USB-C port with compressed air for a thorough clean.
Proper Handling Techniques
How you handle your controller matters a lot. Follow these tips to reduce damage:
- Keep the controller in a cool, dry spot, away from sunlight.
- Always clean your hands before using the controller to avoid dirt and oils.
- Don’t eat or drink while playing to avoid spills and crumbs.
- Be gentle when using the controller; don’t press too hard on buttons and sticks.
Professional PS5 Controller Repair Services
Having trouble with your PS5 controller? Getting it fixed by a pro can make a big difference. DIY fixes might help, but experts can do a better job. They have the skills and parts to fix tough problems.
Many repair services also offer warranties. This means you can feel confident in their work.
Advantages of Professional Repair
Here’s why you should choose a pro for your PS5 controller repair:
- Expertise: Techs are well-trained to handle many issues.
- Quality Assurance: Services usually come with warranties, ensuring repairs are done right.
- High-Quality Parts: Pros use top-notch parts for the best results.
- Time Efficiency: They can fix complex problems faster than you can at home.
Finding the Best PS5 Controller Technician
Finding the right PS5 controller technician takes some effort. Look at these factors:
- Read customer reviews to see how happy others are.
- Look for a warranty on repairs for peace of mind.
- Check if they offer a variety of services, like fixing sticks or replacing buttons.
- Ask about their diagnostic process and if they give free estimates.
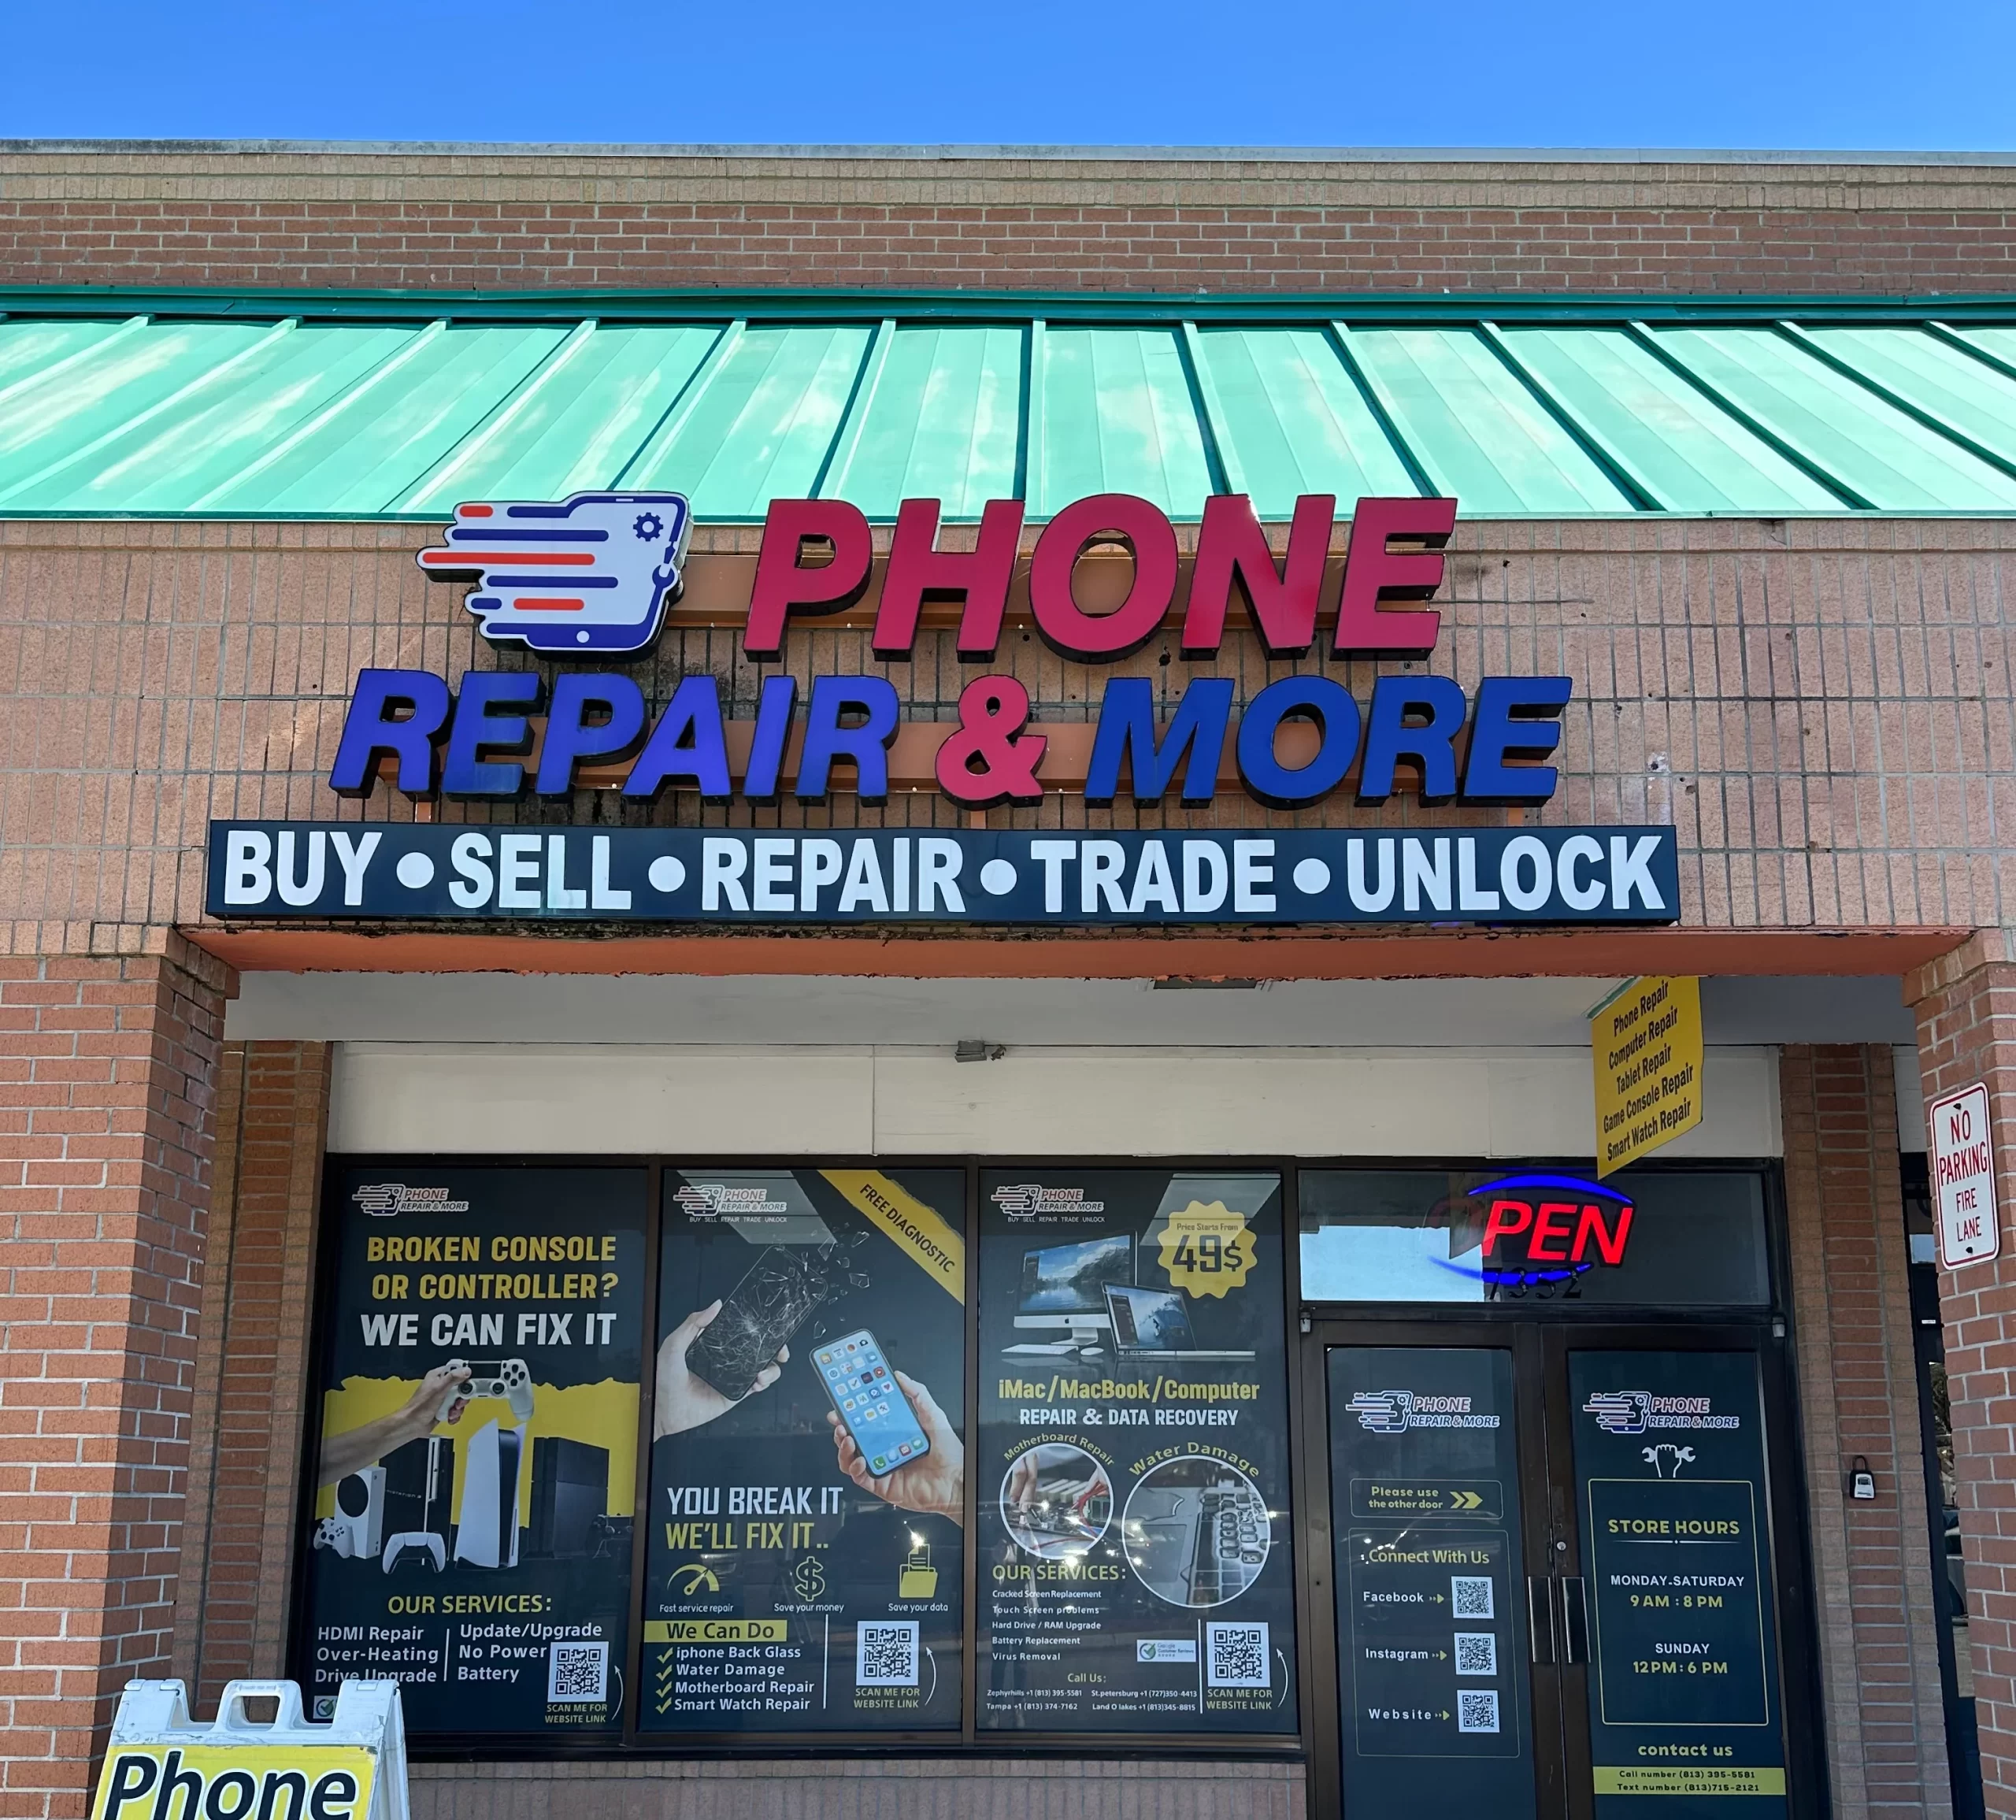
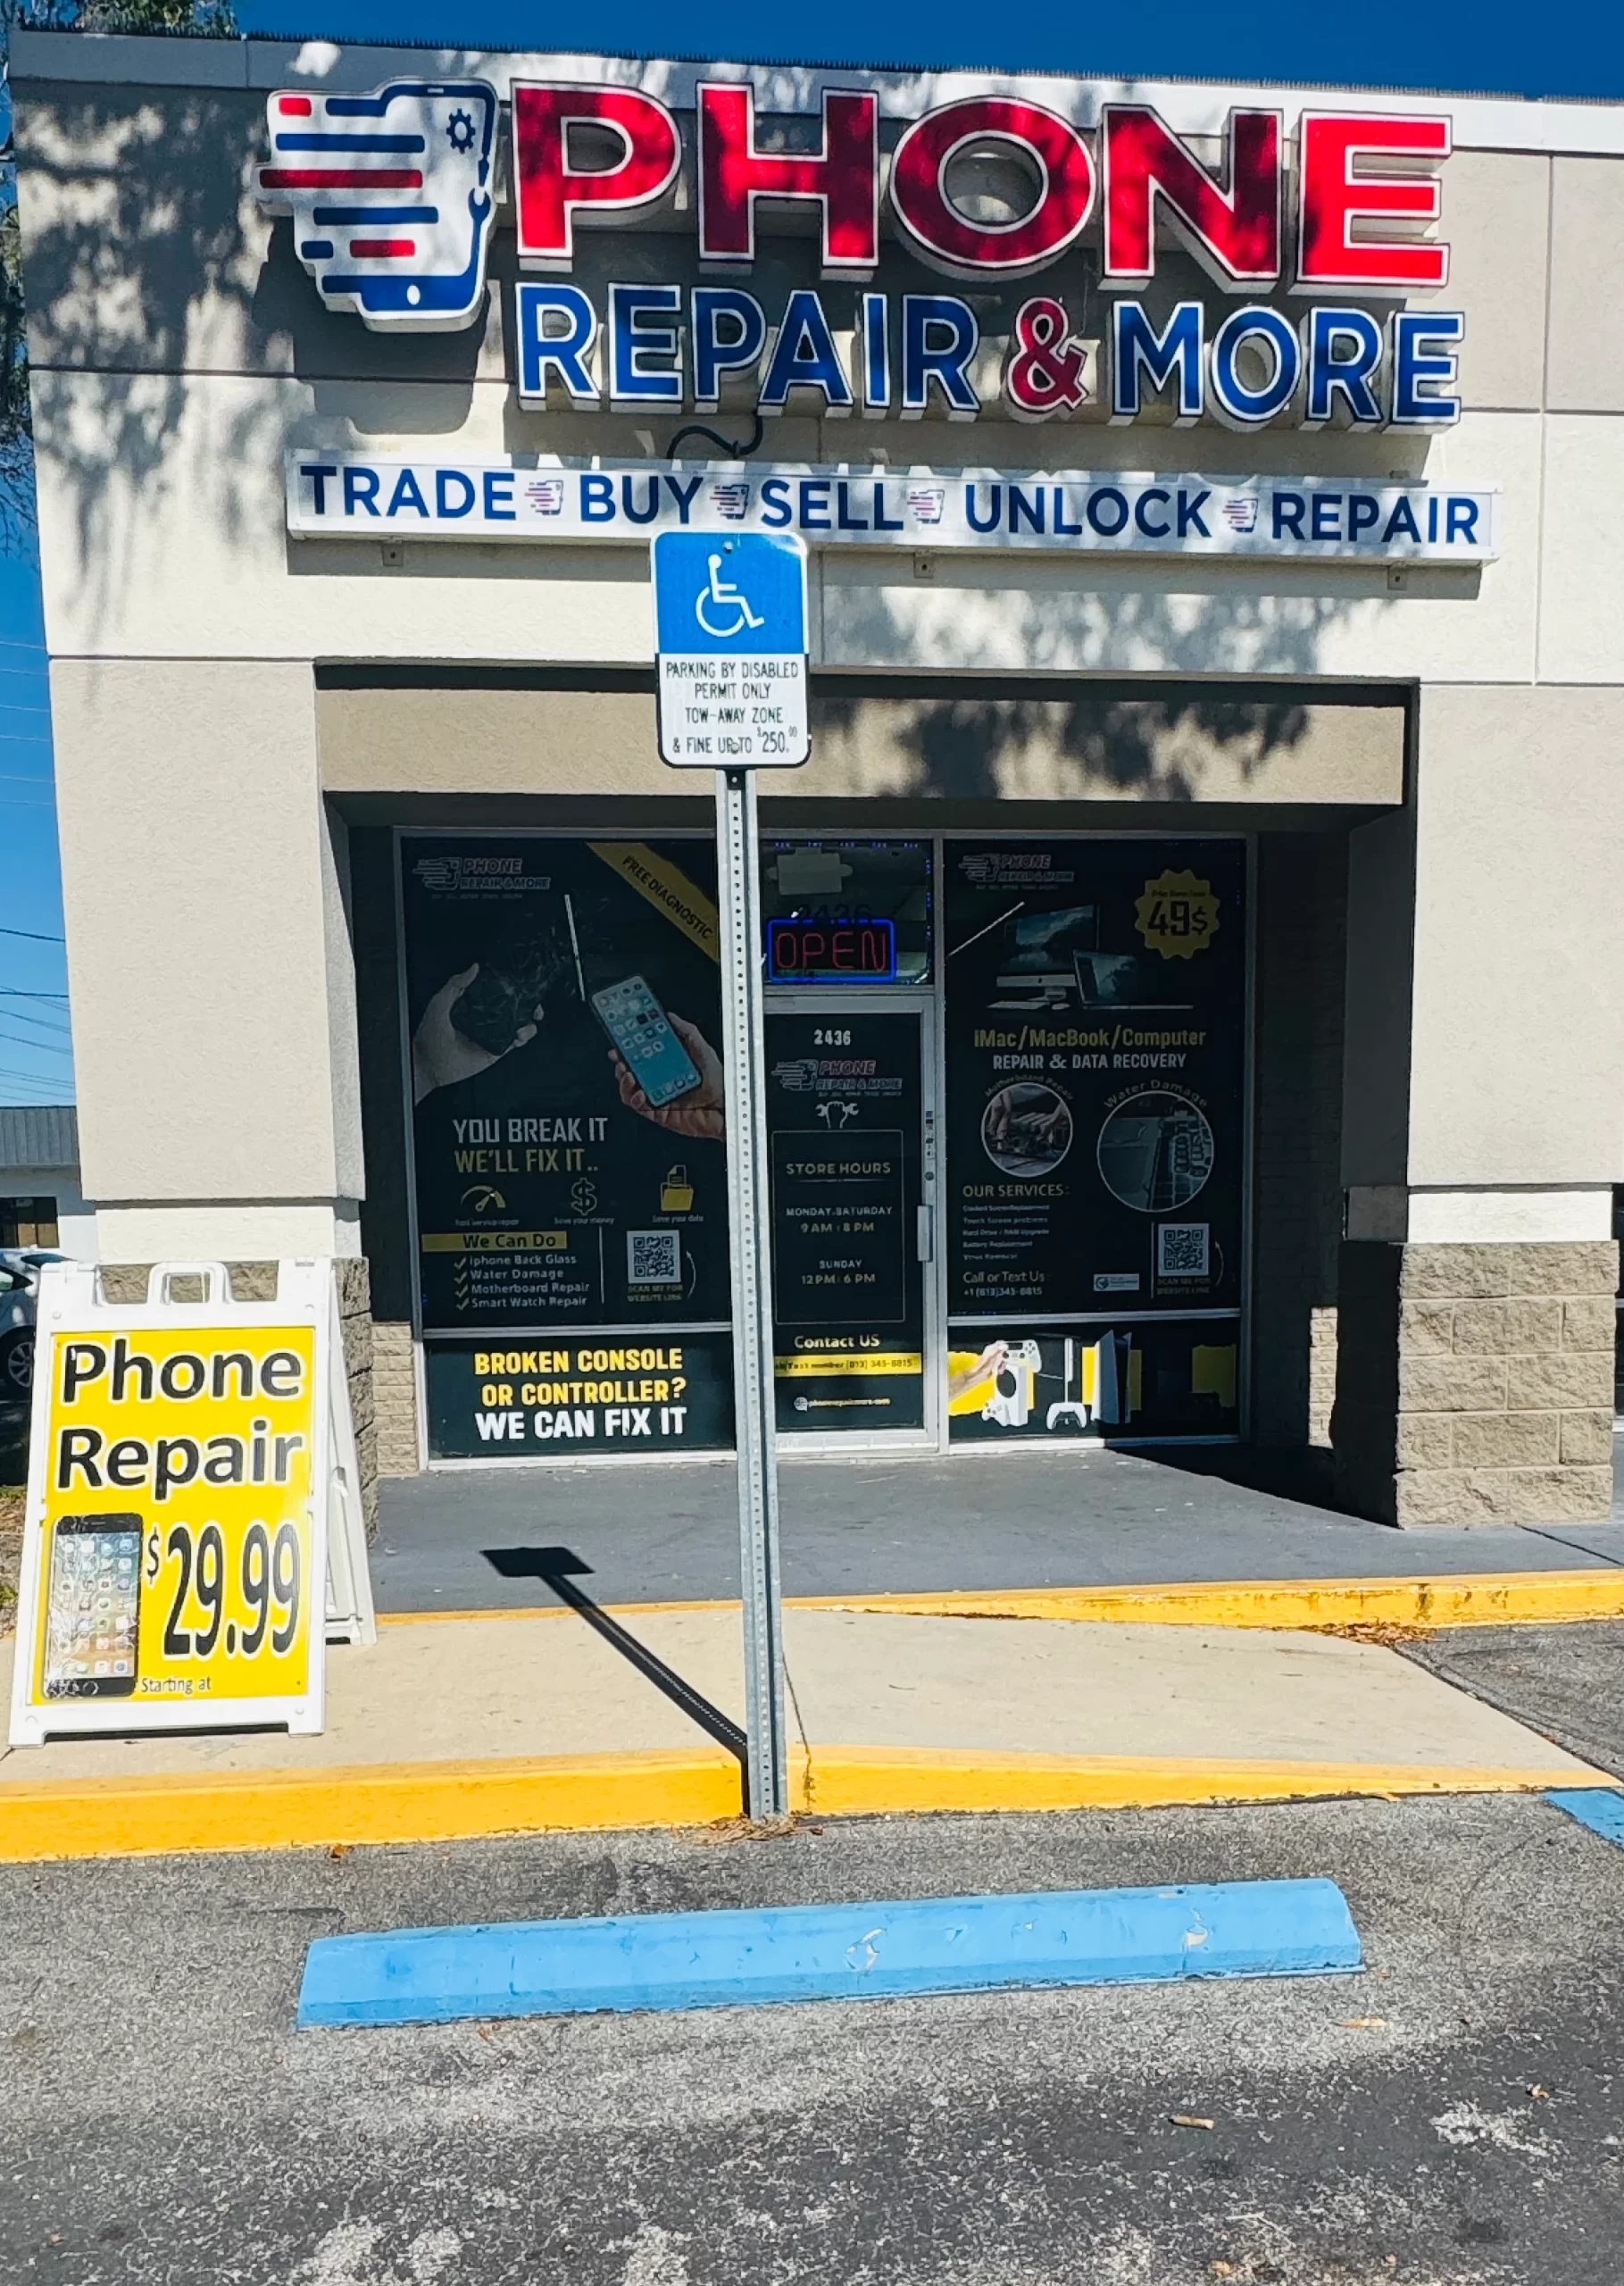
Places like Phone Repair & More in Tampa are known for their reliable service. They offer many repair options, showing the value of expert help for your gaming gear.
| Repair Service | Location | Warranty | Additional Services |
|---|---|---|---|
| Phone Repair & More | St. Petersburg | 90-day guarantee | Free diagnostics, multiple contact options |
| Phone Repair & More | Tampa | 1-year limited warranty | Free diagnostic, same-day repair options |
Common Myths About PS5 Controller Repair
In the world of PS5 controller repair, many myths confuse gamers. Some think they can fix everything at home with simple tricks. But, some problems are too complex for DIY fixes. Knowing when to try to fix it yourself and when to get help is key.
Do-It-Yourself vs Professional Repair
DIY fixes might seem like a good way to save money. But, many believe anyone can fix their controller without knowing much. While simple tasks like cleaning can help, more serious issues need expert skills.
- Myth 1: All PS5 controller problems can be fixed with a quick reset or cleaning.
- Myth 2: Professional repairs are always too expensive and unnecessary.
- Myth 3: DIY repairs won’t void any warranty or professional repair options.
Understanding these myths helps make better choices. Even small repairs can be tricky and might cause more harm if done wrong. Knowing your limits can save time and money, leading to the right decision to get professional help.
| Aspect | DIY Repair | Professional Repair |
|---|---|---|
| Cost | Generally lower upfront costs | Higher initial expenses but potentially longer-lasting repairs |
| Skill Level Required | Basic knowledge for simple fixes | Specialized knowledge for complex issues |
| Warranty Implications | Risk of voiding warranty | Maintains warranty if completed by authorized technicians |
| Time Investment | Potentially longer time spent troubleshooting | Quicker repairs due to expertise |
By understanding the myths, gamers can make smarter choices. Mixing DIY efforts with professional help can improve the gaming experience and keep your gear in top shape.
Conclusion
Understanding the PS5 controller is key for keeping it in top shape. This summary covers common issues like joystick drift and connectivity problems. Knowing how to fix these can greatly improve your gaming.
The guide also talks about the tools and safety steps for repairs. Whether you’re fixing it yourself or getting help, you’ll find useful tips here. If you’re stuck, Sony’s support is always there to help.
By using the tips from this guide, your PS5 controller will stay in great condition. Regular care and smart repairs are essential for a long-lasting gaming experience.

