Ever wondered why your PS4 controller stops working right when you’re about to win? It’s a common problem that can ruin your gaming fun. Learning how to fix your controller can make your gaming better and help you solve problems early.
Many gamers deal with issues like broken buttons, wireless problems, and stick drift. Knowing some quick fixes can save you time and money. In this guide, we’ll show you how to fix your controller and get it working like new again. You’ll learn about effective PS4 controller fix techniques.
Key Takeaways
- The average PS4 DualShock 4 controller lasts around 8 hours before needing a recharge.
- Hard resetting the controller can resolve various issues and is done by pressing the reset button for at least 6 seconds.
- If your controller stops syncing, try a hard reset followed by re-pairing it with the console.
- Setting automatic turn-off times for your controller can help preserve battery life.
- Testing your controller on other devices can help identify whether issues are specific to the controller or the console.
Understanding Common PS4 Controller Issues
The PlayStation 4 controller, or DualShock 4, has many features that make gaming better. Since it came out in 2013, people have run into problems. Knowing these common issues helps with video game controller maintenance and keeps gaming smooth.
Overview of Common Problems
There are several issues with the PS4 controller, including:
- Connectivity Issues: Some users struggle to connect their controllers to the console. Check the battery and avoid Bluetooth interference to fix this.
- Button Malfunctions: The buttons and sticks might stop working due to wear or dirt. Regular cleaning helps.
- Battery Problems: Controllers might not last as long as they should. This could be because of wear or extreme temperatures. Look for charging port issues, which are common.
Signs Your Controller Needs Repair
There are signs that your controller needs fixing. Watch for:
- The controller won’t connect or keeps disconnecting. This could mean a bigger problem.
- Buttons need a lot of pressure to work or get stuck. This is often because of dirt.
- The battery life drops a lot. This means the controller is having trouble holding a charge.
If these problems don’t go away with simple fixes, it’s time to get a Sony controller fix from experts. This helps avoid more damage to your gaming gear.
PlayStation Controller Repair: Basic Troubleshooting Steps
Having trouble with your PlayStation controller can be really frustrating. But, there are simple steps you can take to fix the problem. This guide will help you check for connection issues and find out why they happen. This way, you can quickly get back to gaming.
Checking Connection Issues
The first thing to do is check the connection between your controller and console. Here’s how:
- Re-pair the controller: Unplug the controller and then plug it back in by holding the PS button until the light bar starts flashing.
- Inspect USB cables: Make sure your USB cable is working right. Try a different cable to see if the problem goes away.
- Adjust Power Save settings: Go to your console’s settings and make sure the controller stays on during gameplay.
Common Causes for Connectivity Problems
There are a few reasons why your controller might not connect. Knowing these can help you fix the problem:
- Dead battery: A dead battery is a common problem. Check the battery level and charge it if needed.
- Out of range: Make sure your controller is close enough to the console for a good connection.
- Wireless interference: Other devices can mess with your signal. Try moving away from things that might interfere.
If you can’t fix the problem yourself, it might be time to get help. Look for a gaming controller service or a console controller repair service. Many problems can be fixed at home, but experts are great for tricky repairs.
| Issue | Possible Solutions |
|---|---|
| Dead Battery | Recharge or replace the battery |
| Out of Range | Move closer to the console |
| Faulty USB Cable | Use different USB cable |
| Wireless Interference | Remove or reduce interference sources |
Fixing Non-Responsive Buttons
Non-responsive buttons on a PlayStation controller can really upset gamers. Knowing what’s wrong helps find solutions. This part talks about finding out why buttons don’t work, and how to clean them to make them work again.
Diagnosing Sticky or Unresponsive Buttons
Finding out why buttons don’t work is the first step. Common problems include:
- Physical damage: Look for cracks or broken parts that might stop buttons from working.
- Debris accumulation: Dirt, dust, or food can block button movement.
- Incorrect pairing: Make sure the controller is correctly connected to the console.
- Software glitches: Sometimes, you need to update or reset the controller to fix problems.
Cleaning Techniques for Button Repair
After figuring out the problem, cleaning can fix it. Here are some good ways to clean:
- Get your tools ready: isopropyl alcohol, cotton swabs, and a soft cloth.
- Turn off the controller before you start cleaning.
- Soak a cotton swab in isopropyl alcohol and gently clean around the buttons. Focus on the edges where dirt tends to build up.
- Use a soft cloth to wipe the controller’s surfaces. Make sure there’s no moisture left.
- If buttons are still sticky, use a toothpick to carefully remove any dirt.
Keeping your controller clean can stop button problems. Regular checks and cleanings improve your gaming and make your controller last longer. If you can’t fix it yourself, get help from a pro for a full repair or restoration.
Repairing Controller Drift and Joystick Issues
Controller drift and joystick issues can really mess up your gaming. It’s important to know why they happen. If you don’t fix these problems, you might find it hard to control your game characters.
Understanding Controller Drift
Controller drift is when your joystick moves on its own. It can be caused by damage, wear, debris, or old software. Fixing these problems can make your joystick work better and improve your gaming.
How to Clean and Repair Joysticks
Cleaning and fixing your joystick can solve many drift problems. Here’s a simple guide to keep your joystick in top shape:
- First, turn off your controller and unplug any cables or Bluetooth.
- Use a soft, dry cloth to wipe the joystick. This removes dust and debris.
- If drift still happens, try using compressed air to clean out the joystick.
- For serious problems, reset your PS4 controller. You can do this by pressing the reset button with a paperclip for 5 seconds.
- Make sure your controller’s software is up to date. Old software can cause joystick problems.
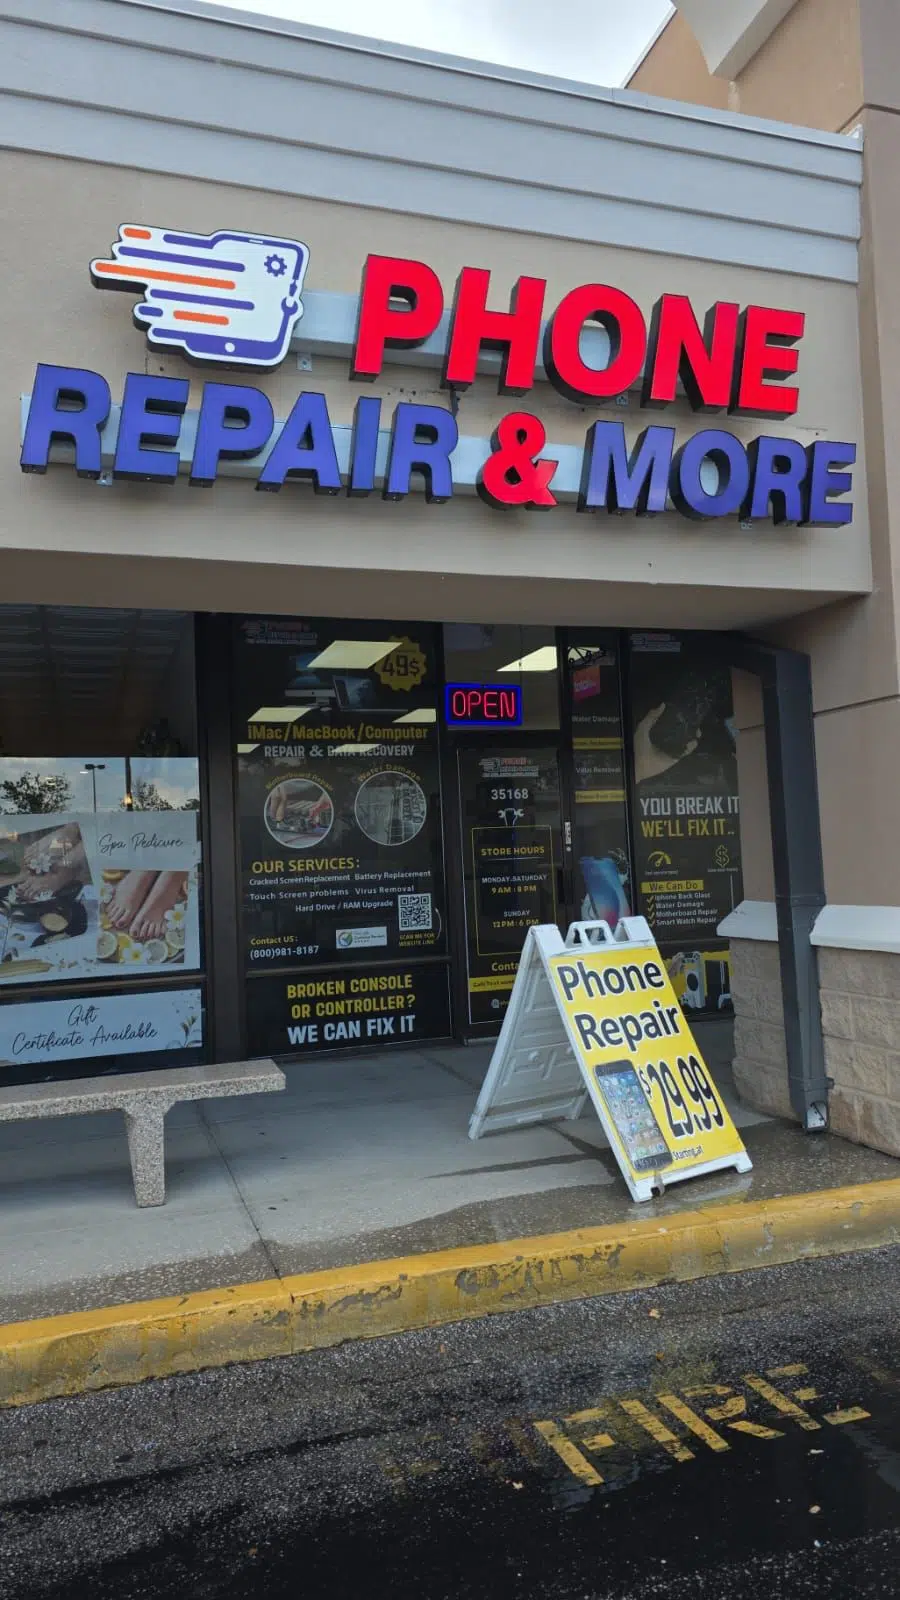
If you’re still having trouble, it’s best to get help from a pro. Places like Phone Repair & More have experts for fixing Playstation joysticks. They’ll make sure your PS4 controller works right.
| Issue | Common Causes | Recommended Solutions |
|---|---|---|
| Controller Drift | Physical damage, debris buildup, outdated software | Clean joystick, reset controller, update software |
| Sticky Joystick | Dust accumulation, moisture | Use compressed air, dry cloth cleaning |
| Unresponsive Joystick | Corrupted data, hardware malfunction | Reset controller, visit repair service |
Keeping your PS4 controller clean and maintained can make it last longer. Fixing joystick problems quickly helps keep your gaming smooth and fun.
Troubleshooting Charging and Battery Issues
Keeping your video game controller in good shape is key for a smooth gaming session. Issues with charging and batteries can stop you in your tracks. Knowing the signs and having a plan can help avoid frustration. To fix charging problems, you need to find the main cause.
Signs of a Dying Battery
Spotting a battery problem early can save you a lot of trouble. Here are some signs that your controller’s battery might be on its way out:
- Rapid power depletion while playing.
- Frequent disconnections during use.
- The controller not charging, even when plugged in.
- Physical damage to the charging port or cable.
Steps to Replace or Recharge the Battery
If you see these signs, it’s time to take action. Here are some steps to fix the problem:
- Check the charging cable for proper connections. A faulty or worn-out cable can hinder charging.
- Try using a different USB cable, as some low-quality cables may not support charging efficiently.
- Explore different charging sources. Using a charger other than the PS4 may yield better results.
- Examine the charging port for debris or physical damage. Cleaning it out may restore functionality.
- Consider resetting the controller or power cycling the console as troubleshooting methods.
- If problems persist, a console controller repair service may be necessary for battery or charging port replacement.
By following these steps, you can keep your controller in top shape. Regular checks are your best defense against sudden game stops.
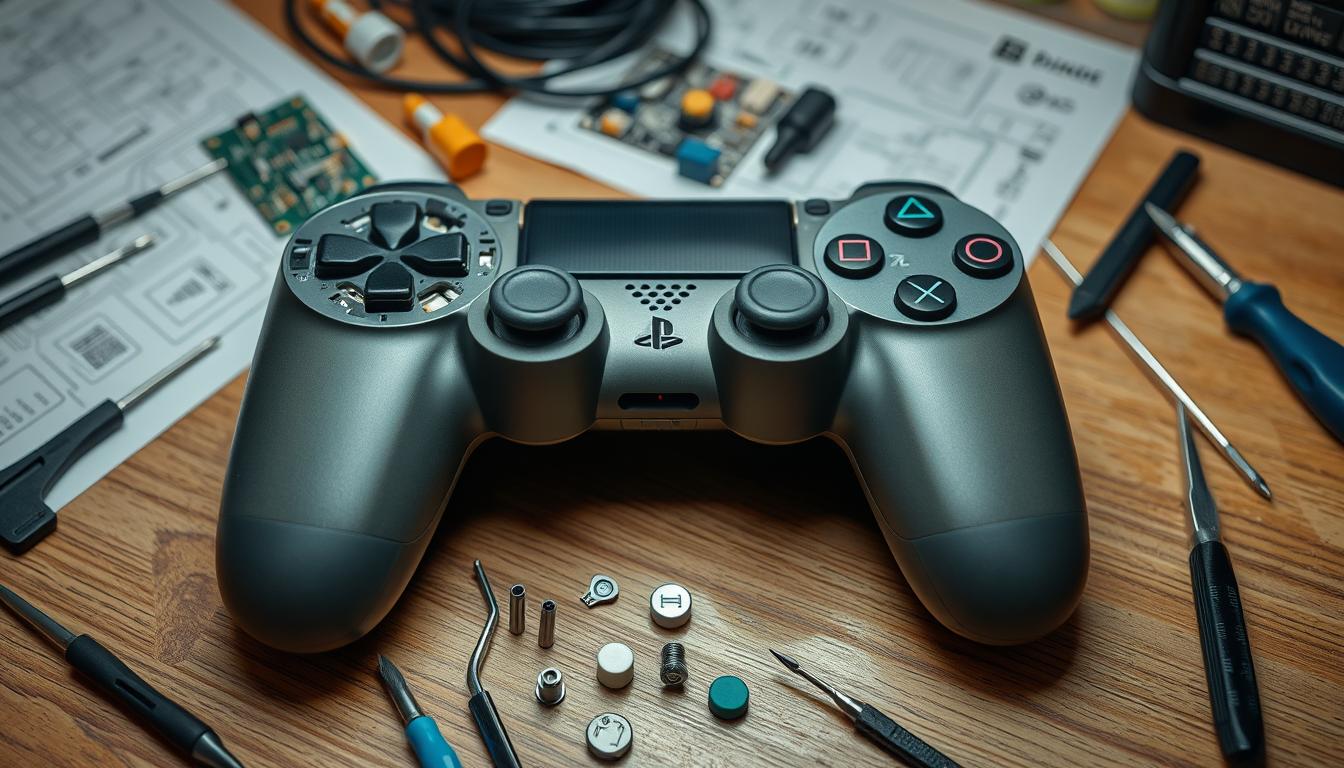
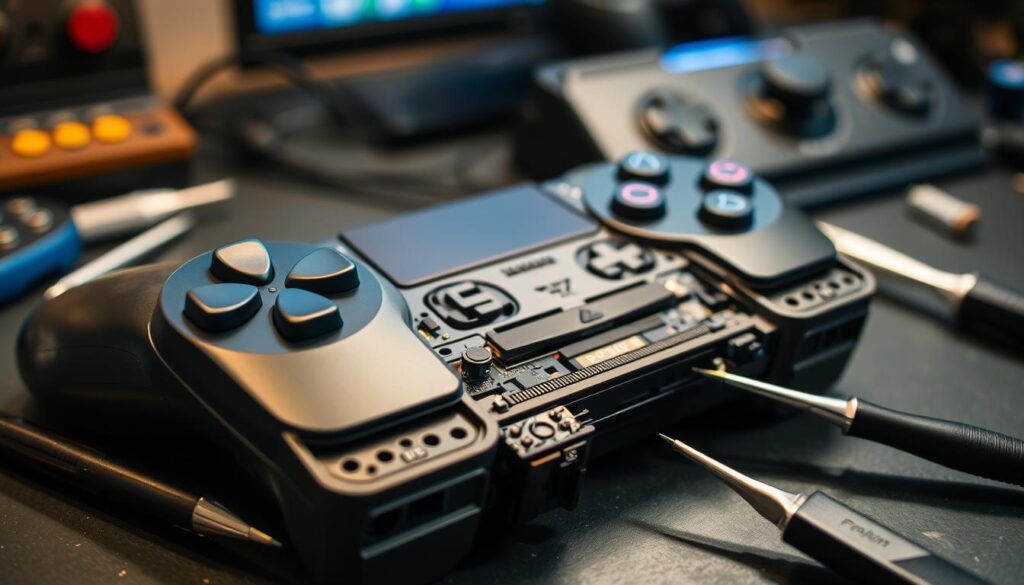
Advanced Repairs: Disassembling the Controller
If you’re into DIY repairs, taking apart a controller can be a big step. It’s important to know the right tools and steps for safe and effective fixes. This guide will help you fix your controller without causing harm.
Tools Needed for Disassembly
- Phillips screwdriver (cross-head, 6.4 mm and 1.5 mm sizes)
- Prying tool (to gently separate the case)
- Soft brush (for cleaning dust and debris)
- Cotton swabs (to apply cleaning solution)
- Compressed air (for blowing out dust)
Step-by-Step Guide to Opening the Controller
Here’s how to start:
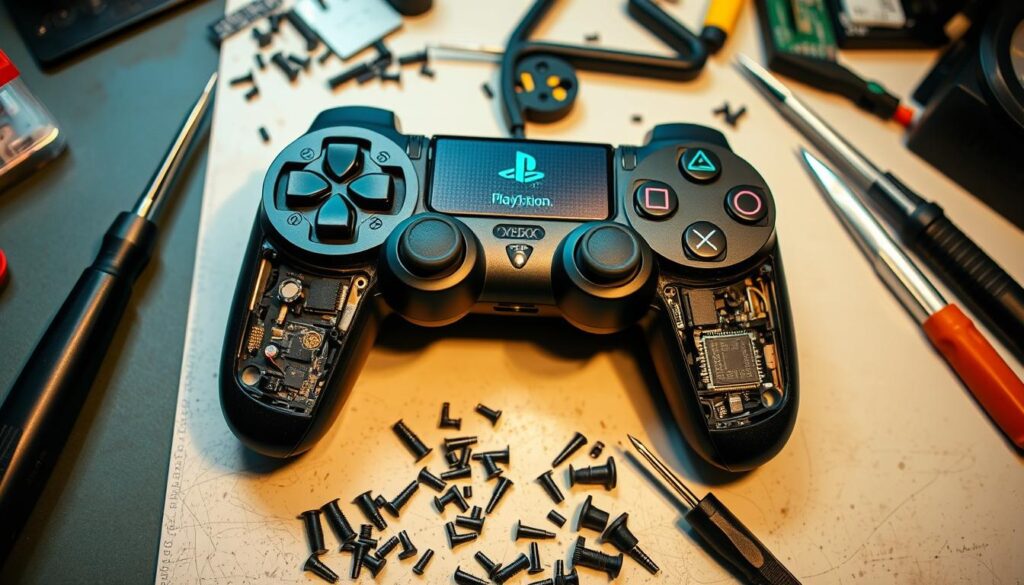
- Remove screws: Open the back by taking out the four screws at the bottom and behind the L1 and R1 buttons.
- Separate the halves: Use a prying tool to gently split the controller in two.
- Detach the battery: Remove the battery to avoid any risks.
- Disconnect ribbons: Carefully remove any ribbons that link the parts inside.
- Access internal components: Clean or replace parts like joysticks or buttons. Make sure to clean the analog stick modules well if you’re fixing joystick drift.
- Reassemble: Put the controller back together by aligning the halves, reconnecting parts, and tightening screws. Make sure everything is dry.
Be very careful during this process. If you’re not precise, you might damage the controller. So, take your time to do a good job with your Playstation Controller Repair.
When to Seek Professional Help
Knowing when to get help for your gaming controller can save you time and stress. While fixing things yourself might seem appealing, some problems are too complex. Issues like electrical troubles or serious damage need a pro’s touch to avoid making things worse.
Recognizing the Limits of DIY Repair
Many gamers try to fix their controllers themselves. But, there are times when it’s better to call a professional. Here are some signs you should look for:
- Electrical Issues: If your controller keeps disconnecting or won’t turn on, it might have internal wiring problems.
- Complex Repairs: Replacing parts like analog sticks or circuit boards needs special skills and tools. These are not easy for beginners to handle.
- Persistent Problems: If you’ve tried fixing it yourself but it still doesn’t work, it’s time to get help from someone else.
Finding a Reputable Console Controller Repair Service
Choosing the right repair service is important for quality work. Here are things to look for:
- Experience: Go for a service like Phone Repair & More, which has years of experience. Their certified team does repairs well.
- Warranty: Make sure the service offers a warranty, like the 1-year limited warranty Phone Repair & More provides. This gives you confidence in your choice.
- Diagnostics: Free diagnostics are a must. They help avoid surprise costs.
- Quick Service: Many repairs can be done the same day. This means less time waiting for your controller to work again.
- Price Guarantee: Look for places that promise to beat local prices by $5. This ensures you get a good deal.
With hundreds of Phone Repair & More stores across the country, finding help for your PlayStation controller is easy. Trusting experts means your gaming fun won’t be interrupted.
Preventive Maintenance Tips for Long-lasting Controllers
Using preventive maintenance can make your PlayStation controllers last longer. Regular care keeps them working well and avoids the need for repairs. Cleaning and storing your controllers right can make a big difference.
How to Properly Clean Your Controller
Keeping your controller clean is key to avoiding dirt and grime problems. Here’s how to do it:
- Use a soft, lint-free cloth dampened with a mild cleaning solution to wipe down the outer surfaces regularly.
- Inspect the buttons and joystick areas, clearing any debris that might interfere with functionality.
- Utilize compressed air to dislodge dust from hard-to-reach spaces.
Cleaning your controller regularly is a smart move. It helps prevent future repair needs.
Best Practices for Controller Storage
Storing your controllers right can protect them from damage. Here are some tips:
- Store controllers in a dry, cool place to deter overheating and moisture-related issues.
- Use a dedicated storage case to protect controllers from accidental drops or scratches.
- Avoid placing heavy objects on top of the controller to prevent pressure-related damage.
By storing your controllers correctly, you can make them last longer. This means you’ll need repairs less often.
Conclusion
Knowing how to fix a PS4 controller can make your gaming better. You can solve many problems by yourself, like checking for damage or cleaning buttons. It’s also important to know when your controller needs help.
But, sometimes you need a pro to fix it. This is true for big problems that you can’t handle yourself. Taking care of your controller can stop these issues before they start.
If you can’t fix it yourself, get expert help. For tips on fixing PS5 problems, check out this guide: troubleshooting your PlayStation problems. A good controller is key to enjoying your games fully.
FAQ
What are the most common issues with a PlayStation 4 controller?
Common problems include connectivity issues, faulty buttons, battery drain, and controller drift. Spotting these issues early helps with fixing and upkeep.
How can I troubleshoot connectivity issues with my PS4 controller?
To fix connectivity issues, try pairing your controller again with the console. Check your USB cables and Power Save settings. If your controller is too far or dead, it won’t connect.
What should I do if my controller buttons are stuck or unresponsive?
Check if the problem is from damage or dirt. Clean sticky buttons with rubbing alcohol and cotton swabs. This might fix the issue without needing a pro.
How do I know if my controller battery needs replacement?
Look for signs like quick battery drain, not charging fully, and constant low battery alerts. If you see these, it’s time for a new battery.
When is it advisable to seek professional repair services for my controller?
Get professional help for complex electrical issues, ongoing hardware problems, or if DIY fixes make things worse. A good repair service can help.
What preventive maintenance tips can extend the life of my PlayStation controller?
Clean your controller often to avoid dust and dirt. Store it safely to avoid damage. Also, check the battery health regularly. These steps keep your controller working well.
Can I repair joystick drift on my controller myself?
Yes, you can fix joystick drift by cleaning the joystick parts. For lasting problems, you might need to replace the joystick or get help from a pro.

