Ever thought how a small scratch or dead pixel could ruin your gaming on the Nintendo Switch? Screen problems can really mess with your device’s performance. This is especially true when it comes to Nintendo Switch screen replacement. It’s key to keeping your device working well and your gaming fun.
In this guide, we’ll cover common screen issues for Nintendo Switch users. We’ll look at repair options and give step-by-step DIY repair instructions. Whether you’re searching for the best screen replacement or tips to keep your device in top shape, we’ve got you covered. Remember, taking care of your screen after replacement is crucial to avoid damage. For more on screen burn solutions, check out this resource on whether replacing the screen fixes screen burn here.
Key Takeaways
- Understanding common screen issues is vital for proper Nintendo Switch repair.
- Professional repair services offer valuable solutions, especially for major damage.
- Cost-effective tools enhance your DIY repairs, promoting better outcomes.
- Caring for your replacement screen can prevent future screen issues.
- Knowing how to disassemble and reassemble your device is crucial for a successful screen fix.
Introduction to Nintendo Switch Screen Issues
The Nintendo Switch is a favorite handheld gaming console. It’s known for its versatility and fun gameplay. But, like all devices, it can have Nintendo Switch screen problems that spoil the fun. Issues like scratches, cracks, discoloration, and dead pixels can happen. It’s key for gamers to know about these problems to keep their console in top shape.
Scratches and scuffs can show up over time, especially if the console is often docked. Drops can cause bigger screen defects like cracks or shattered glass. Dead pixels can also ruin the view, so spotting any screen issues early is important.
To fix Nintendo Switch screen problems, you’ll need the right tools. This includes a screwdriver set, adhesive strips, and tweezers. If you try to fix it yourself, knowing how to tackle common problems like black screens and unresponsive touchscreens is helpful. If DIY fixes don’t work, getting help from pros is a good idea. Remember, taking care of your device can help avoid these issues.
Gamers can find more info on spotting device problems and when to get it fixed by visiting this link. Knowing about common Nintendo Switch issues can help keep your gaming experience smooth and long-lasting.
Common Problems with Nintendo Switch Screens
Nintendo Switch users often face screen issues that can ruin their gaming fun. Knowing these common problems helps you keep your console in top shape. This includes dealing with screen scratches, cracks, and dead pixels.
Scratches and Scuffs from Docking
Docking the console without care can cause scratches. Many users see Nintendo Switch screen scratches from this. These scuffs can ruin the look of your screen.
Using a screen protector can help avoid these problems. It keeps your screen clear and protected.
Cracks from Drops
Drops can crack your screen, harming both the LCD and digitizer. A cracked screen messes up your games and might be hard to fix. It’s wise to use a strong case to avoid drops.
Fixing a cracked screen can be expensive. So, be careful and protect your console.
Dead Pixels and Other Display Defects
Dead pixels are a big problem for Switch users. They show up as black spots on the screen. Nintendo says dead pixels aren’t a warranty issue.
So, you might have to fix them yourself. Taking good care of your screen can help avoid these issues.
Assessing the Damage on Your Nintendo Switch
When you face issues with your Nintendo Switch screen, it’s key to check the damage well. Start by looking for any visible problems and making sure the screen works right. Look at scratches, cracks, and color quality, as these can really impact your gaming.
Diagnosing Screen Damage
First, look at the screen for any cracks or scratches. Check for:
- Scratches from rough handling or bad storage.
- Cracks from drops, especially during intense gaming.
- Discoloration or blotchy colors from hardware faults.
- Dead pixels as tiny spots that don’t work right.
It’s important to do a detailed screen functionality check. See if the damage is just cosmetic or if it hurts the device’s performance. Make sure the screen shows images well, colors are bright, and the touchscreen works right.
Assessing Functionality After Damage
After spotting the damage, check how well the device works. Here’s how to do it right:
- Test the touchscreen by moving through menus and checking all buttons work.
- Look for flickering or dimness, signs of deeper problems.
- Check Joy-Con controllers to see if they connect well, not just the screen.
By following these steps, you’ll know how bad the damage is. If problems keep happening, you might need professional help. Being careful in this process can really help fix your Nintendo Switch issues.
| Damage Type | Possible Cause | Indications |
|---|---|---|
| Scratches | Rough handling or improper storage | Visible scratches on screen surface |
| Cracks | Accidental drops | Visible fractures on screen |
| Dead Pixels | Hardware failure | Non-functioning spots on the display |
| Discoloration | Faulty hardware or connections | Dull or blotchy colors |
Nintendo Switch Screen Replacement Options
When your Nintendo Switch screen gets damaged, you might wonder if to fix it yourself or get help from professionals. Both choices have their own benefits and challenges. This can greatly affect how well your repair goes.
DIY vs. Professional Nintendo Switch Screen Repair
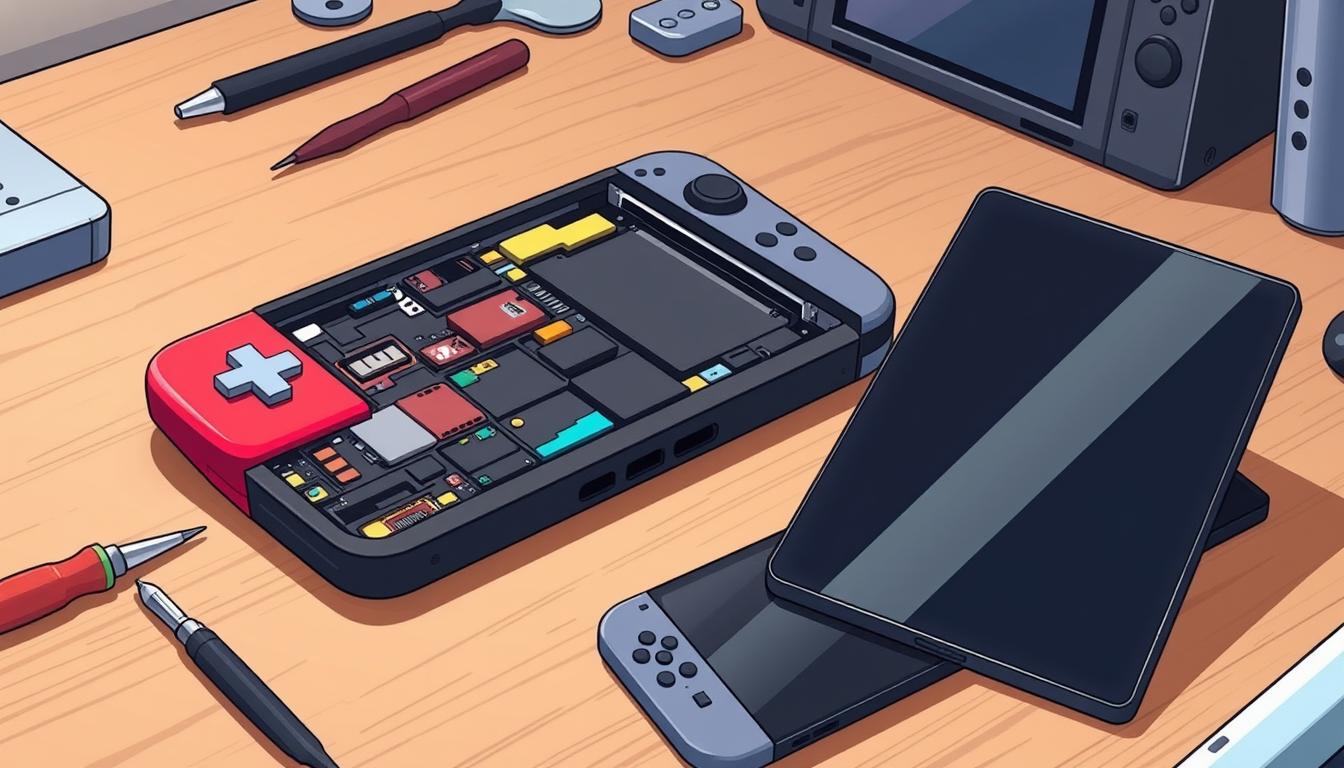
Trying to fix your screen yourself can be fun if you’re good with tech and have a steady hand. You’ll need tools like screwdrivers and tweezers, and something to soften the adhesive. But, you must be sure you can do it right to avoid making things worse.
Fixing it yourself might save money at first. But, if you’re not sure, it could lead to bigger problems. On the other hand, if you’re not confident, getting help from experts is a safer bet.
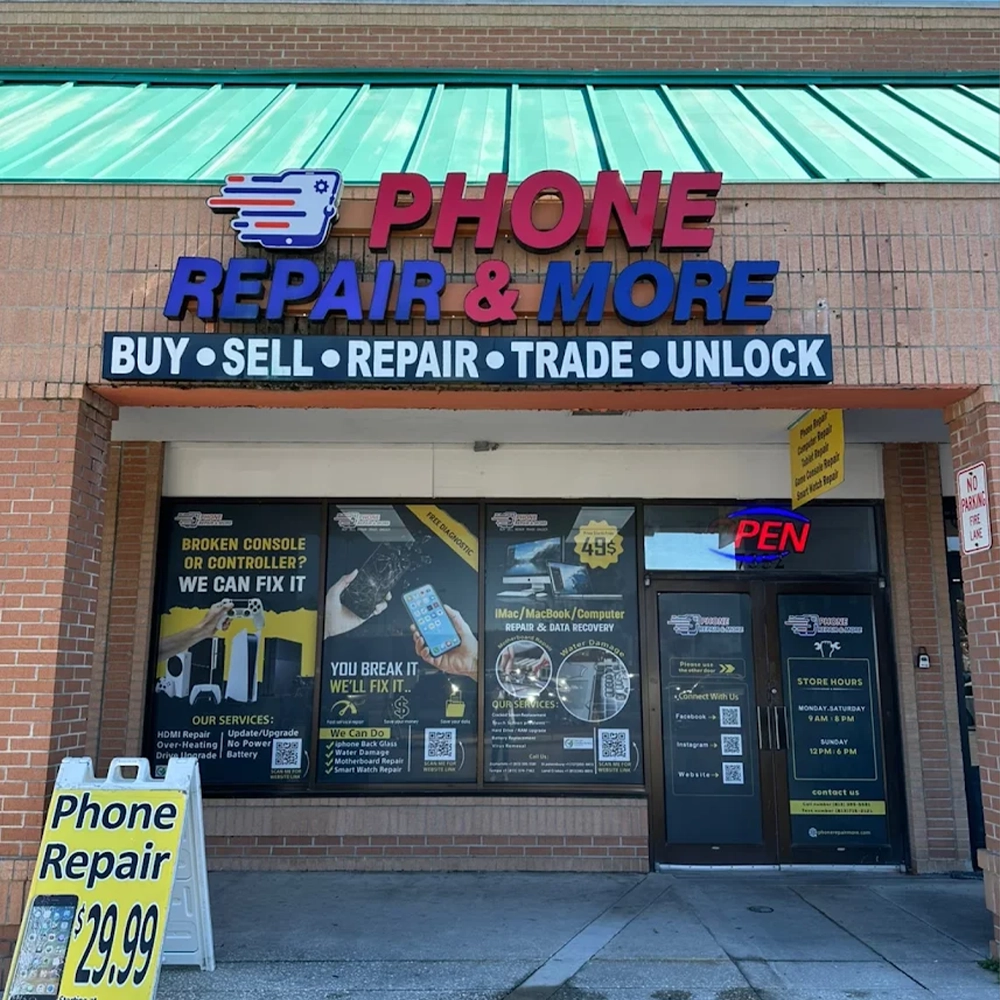
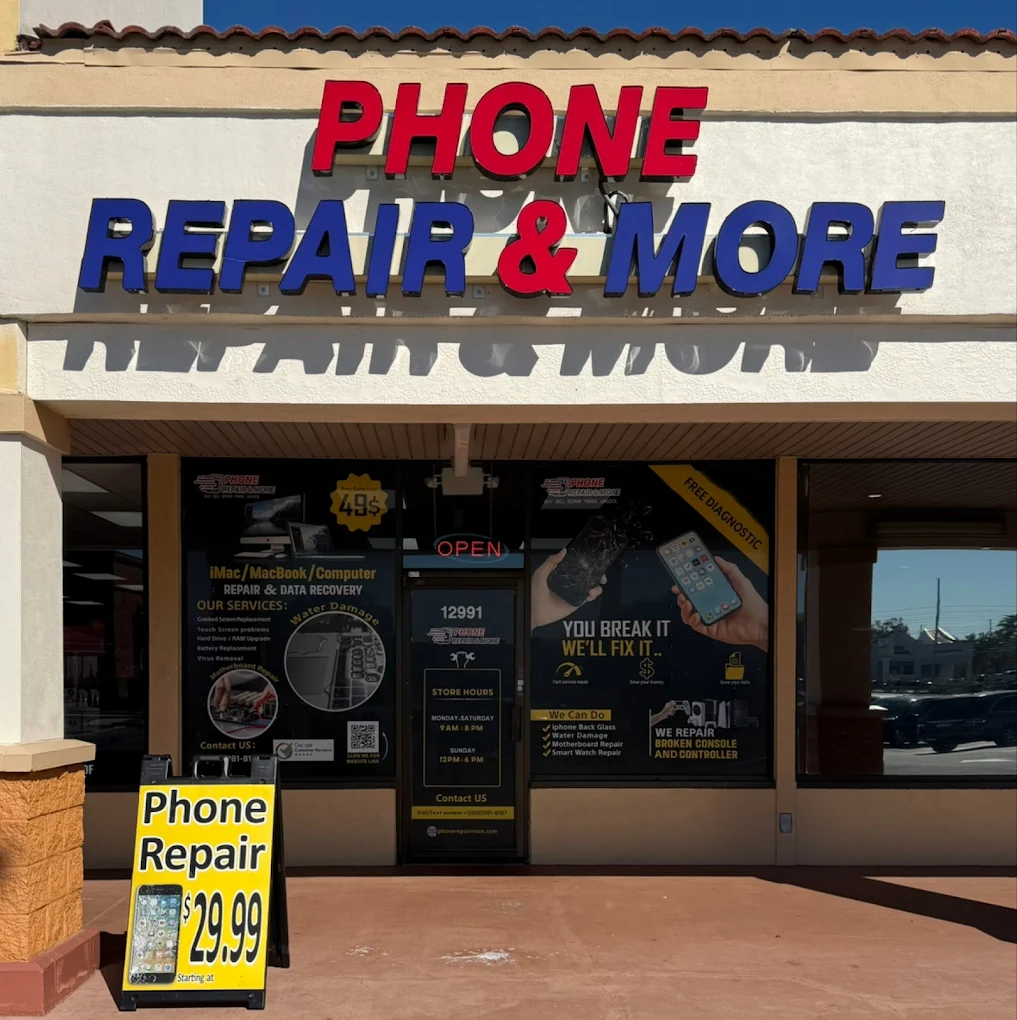
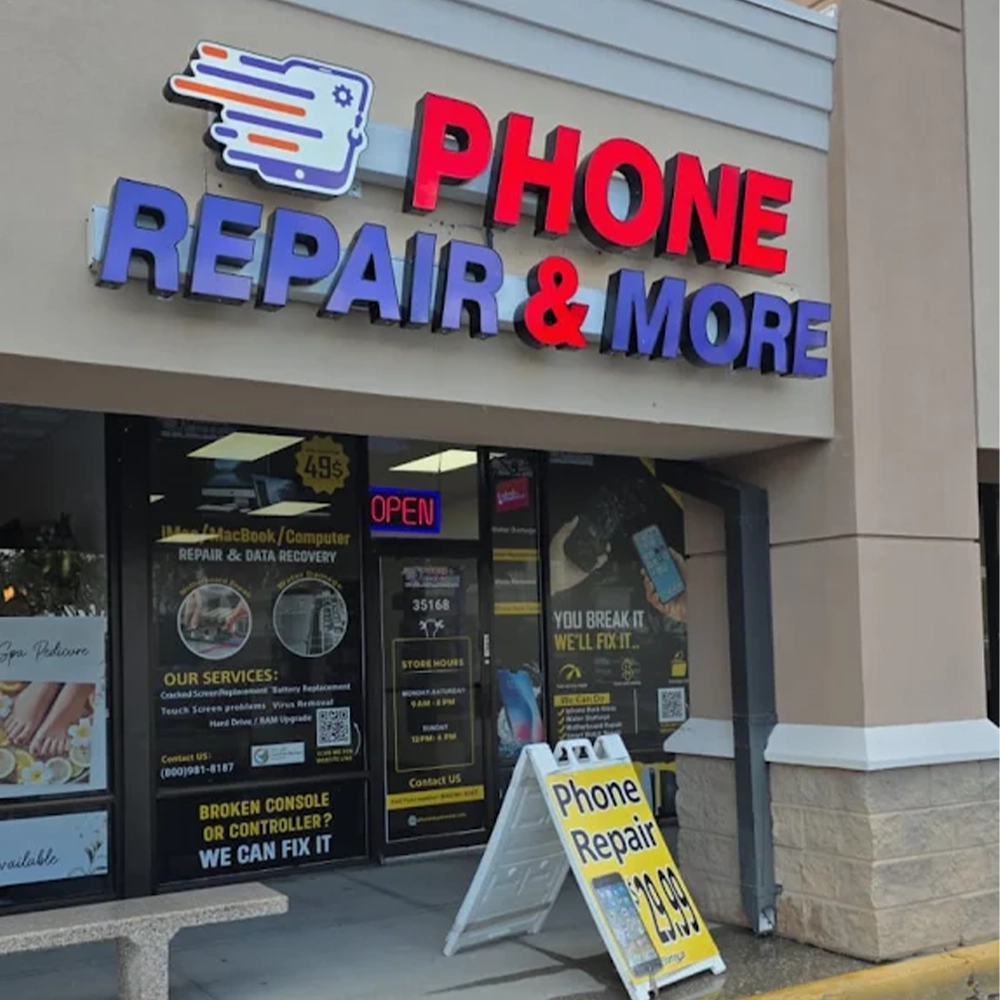
Companies like Phone Repair & More offer great deals and quality service. They have many locations across Florida. They promise fast service, often fixing things in hours, and give a 1-year warranty for peace of mind.
Nintendo Switch Screen Replacement Services
When looking at screen replacement options, think about what professional services include. Shops will check your device, suggest fixes, and tell you how much it will cost. With services like Phone Repair & More, you can trust they’ll do a good job quickly and well.
Whether you decide to fix it yourself or get professional help, choose what feels right for you. Take your time to think about it and pick the best option for your situation.
Best Tools for DIY Nintendo Switch Screen Replacement
Starting a DIY screen replacement for your Nintendo Switch can be rewarding. But, choosing the right tools is key for success. The right tools make the process smoother and save time and effort.
Knowing what tools you need, like screwdrivers and adhesive removal tools, is important. It helps you do a successful repair.
Essential Screwdrivers and Tweezers
Using the right screwdrivers is crucial. A set of precision screwdrivers, like the Wiha 267P, makes handling small screws easy. Tweezers are also key for delicate work during screen replacement.
They help you place parts without damaging them further.
Heat Sources and Adhesive Removal Tools
Heat sources, like a heat gun or hair dryer, soften adhesive for screen removal. Use these with tools like a plastic spudger from the iFixit Spudger Set. This helps remove the old screen safely without scratching the console.
These tools are crucial for a smooth transition to the new screen.
Where to Buy Replacement Screens
Finding the right replacement parts is important for a good repair. Reliable sources offer both tools and screens for DIY repairs. Here are some places to buy Nintendo Switch screens:
| Store | Type of Products | Pros |
|---|---|---|
| iFixit | Replacement screens, kits | High-quality components, detailed guides |
| Amazon | Various screens, tools | Wide selection, customer reviews available |
| eBay | Replacement screens | Potentially lower prices, several sellers |
| Phone Repair & More | Repair services, protection plans | Common repairs offer at competitive prices |
Using these resources helps you get the tools you need for Nintendo Switch repair. It makes screen replacement easier. Being prepared is key for a successful DIY repair.
Step-by-Step Nintendo Switch Screen Replacement Guide
Replacing the screen on your Nintendo Switch might seem hard. But, a step-by-step guide makes it easier. This way, you can go through each step confidently, making sure the replacement goes well.
Preparation: Turning Off and Disassembling
First, turn off your Nintendo Switch to stay safe from electrical risks. You’ll need tools like a precision screwdriver, tweezers, and a plastic tool. Remove the screws from the back carefully and open it gently to avoid damage.
It’s important to keep track of each screw for when you put everything back together.
Removing the Damaged Screen Safely
After opening the device, remove the old screen. Use a suction cup to lift it carefully from the casing. Be careful with the connectors at the screen’s bottom. They might need a gentle push or careful disconnection.
Use isopropyl alcohol to clean any leftover adhesive.
Installing the New Screen and Reassembling the Device
To put in the new screen, align it with the motherboard connector and press until it clicks. Use adhesive strips to hold the screen in place. Make sure it’s right before you start putting everything back together.
Reassemble the device by following the steps in reverse. Double-check for any loose parts or screws. Turn on the device and test the screen to see if it works well.
Nintendo Switch Screen Replacement Tips
After you’ve replaced your Nintendo Switch screen, it’s key to follow some best practices. This will help keep your device in top shape for longer. Here are some screen replacement tips and ways to avoid damage in the future.
Best Practices for Avoiding Damage
To keep your new screen safe, try these habits:
- Use a screen protector to protect against scratches and impacts.
- Be gentle when handling your Nintendo Switch, especially when moving it.
- Don’t put heavy things on top of the console when it’s stored.
- Always use a protective case to lower the risk of damage.
Maintaining Your Nintendo Switch After Replacement
Regular Nintendo Switch maintenance is crucial for its longevity. Here are some maintenance routines to follow:
- Wipe the screen with microfiber cloths to avoid scratches.
- Store the device in a cool, dry place to prevent moisture buildup.
- Regularly check for software updates to keep it running smoothly.
By following these tips, you can greatly extend the life of your Nintendo Switch. For more on screen repairs, check out DIY screen repair options.
Cost of Nintendo Switch Screen Replacement
Knowing the cost of replacing a Nintendo Switch screen is key for gamers. The cost depends on whether you do it yourself or get a pro to do it. We’ll break down the costs so you can choose wisely based on your budget.
DIY Replacement Costs
Going the DIY route can save money, but it’s more than just buying a new screen. Here’s what you’ll need to spend:
- Replacement Screen: Prices vary from $40 to $80, depending on quality.
- Tools: You’ll need screwdrivers and tweezers, which cost about $10 to $30.
- Potential Waste: If you mess up, you might need more parts, adding to the cost.
So, DIY costs can range from $50 to $110. Think about your skills before starting, as it can affect the repair’s success and cost.
Comparison with Professional Repair Costs
Professional repairs mean you get experts, but it costs more. Here’s what you can expect to pay:
- Evaluation Fee: A $15 to $30 charge for the initial check-up.
- Repair Charges: Screen replacement costs $100 to $200, depending on the service and warranty.
- Warranty on Parts: Most repairs come with a 90-day part guarantee, giving you peace of mind.
In short, DIY might seem cheaper, but pros offer quality and peace of mind. When deciding, consider the risks of DIY versus the reliability of pros to choose the best option for you.
Long-Term Care for Your Nintendo Switch Screen
Keeping your Nintendo Switch screen in top shape is key for a great gaming experience. Good long-term care keeps your device running smoothly and makes gaming more fun. This section will show you how to protect and care for your screen.
Using Screen Protectors to Prevent Future Damage
Using a high-quality screen protector is a smart move for Nintendo Switch screen protection. These protectors shield against scratches and cracks. When picking a screen protector, think about these points:
- Material: Choose tempered glass for the best durability.
- Coverage: Make sure it fits perfectly without blocking anything.
- Ease of Application: Pick one that’s easy to put on without bubbles.
Putting on a screen protector not only protects against immediate damage. It also helps keep your device in good shape for a long time, which keeps its value.
Cleaning Your Nintendo Switch Screen Properly
Cleaning your Nintendo Switch screen regularly is crucial. The wrong cleaning methods can cause stains and harm, making it harder to see and play. Here are some tips:
- Use a microfiber cloth: It’s soft and good for wiping away fingerprints and smudges.
- Use appropriate cleaners: Stay away from harsh chemicals and rough stuff. Use distilled water or a screen cleaner made for it.
- Wipe gently: Don’t press too hard to avoid damaging the screen while cleaning.
Following these cleaning tips will keep your Nintendo Switch screen clear and working well. This will make it last longer.
Nintendo Switch Screen Replacement Resources
When you need to fix your Nintendo Switch screen, finding good info is key. Many places offer repair guides and forums for DIY fixes. These resources help you learn how to replace the screen yourself.
Online Repair Guides and Videos
DIY repair guides are vital for fixing your Switch screen. Websites and videos provide step-by-step instructions. They show you how to take apart the console and put in a new screen.
Make sure you have the right tools, like Tri-Wing and Philips screwdrivers. Look for detailed tutorials that cover:
- Preparation and disassembly techniques
- Safe removal of the damaged screen
- Proper installation of the new screen and reassembly
Forums for Nintendo Switch Repair Discussions
Repair forums are great for connecting with experts. These communities share tips and advice. You can ask questions, share your experiences, and learn from others.
- Challenges encountered during repairs
- Best practices for maintaining the device
- Tools and resources that can assist with repairs
Think about your comfort level before starting a repair. Replacing a screen can be rewarding but only if you’re sure you can do it. Online guides and forums can help a lot.
For more tips on screen repairs, check out expert articles. They often include links to replacement parts and useful tips. An article on screen replacement considerations for devices like the Nintendo Switch is a good place to start.
Conclusion
Fixing Nintendo Switch screen problems quickly is key to keeping your gaming smooth and your device in good shape. You can choose to fix it yourself or get help from a pro. Knowing about common issues like scratches, dead pixels, and cracks helps you tackle the problem effectively.
After fixing your screen, keeping your Switch in top shape is important. Use tempered glass protectors and clean your console often. These steps help your console last longer and keep your games running smoothly.
Whether you fix it yourself or get help, acting fast is crucial. Fixing screen issues quickly makes your Switch work better. Regular care and maintenance keep your gaming fun for years.
FAQ
What are the common issues with Nintendo Switch screens?
Issues include scratches and scuffs from docking, cracks from drops, and dead pixels. These problems can really impact your gaming. It’s key to fix them quickly.
How can I assess the damage to my Nintendo Switch screen?
Look for cracks or scratches and see if the image is still clear. Check if the device works right to see if the damage affects it.
Should I attempt a DIY Nintendo Switch screen replacement or seek professional help?
DIY can save money if you’re skilled and have the right tools. But, if you’re not sure or feel uneasy, getting a pro is safer to avoid more harm.
What tools do I need for a DIY Nintendo Switch screen replacement?
You’ll need special screwdrivers, tweezers, heat for adhesive, and tools to remove adhesive. Make sure you have everything before you start.
What is the estimated cost of a Nintendo Switch screen replacement?
Costs vary based on DIY or professional repair. DIY might cost for tools and screens, while pros charge for labor and parts. DIY is often cheaper, but pros ensure quality.
What maintenance tips are important after replacing my Nintendo Switch screen?
Use screen protectors to prevent scratches and clean the screen right to keep it in good shape. Regular care helps your device last longer.
Where can I find reliable resources for Nintendo Switch screen repair?
Look for online guides, video tutorials, and forums for DIY help. Talking to experienced users can give you great advice for your repair.

